Photo Gallery
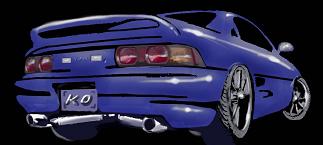
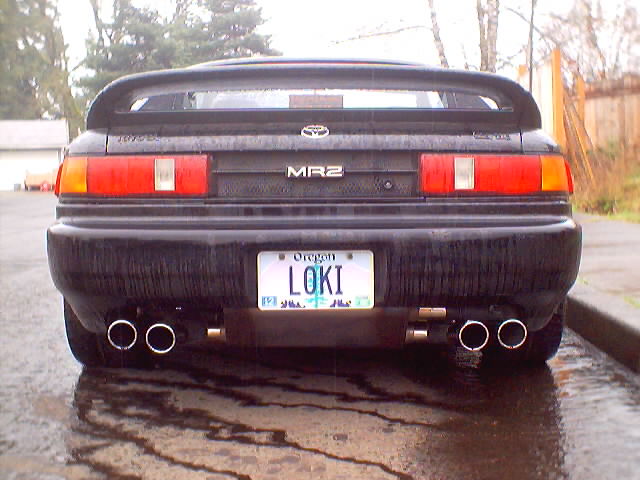
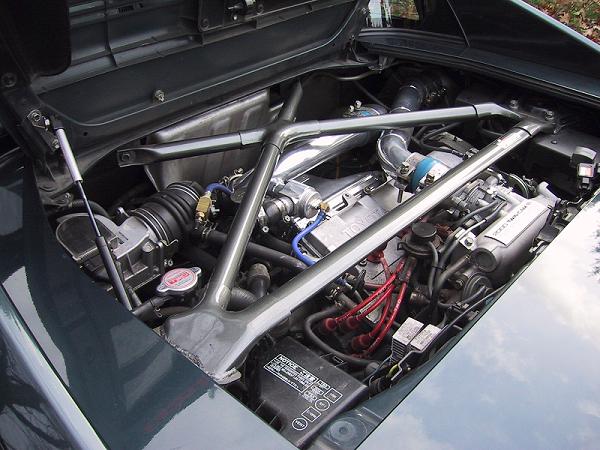
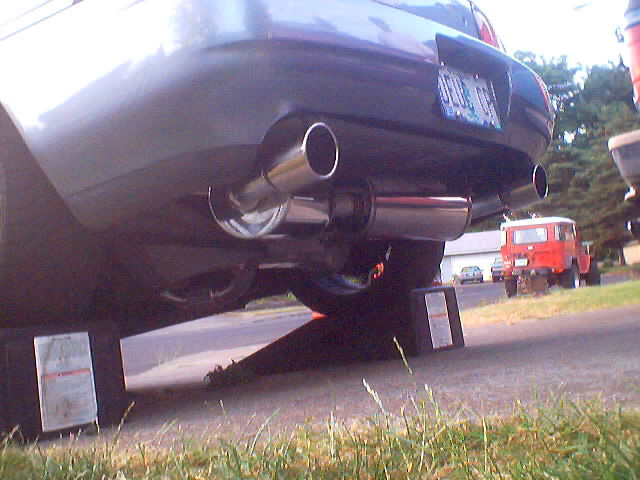
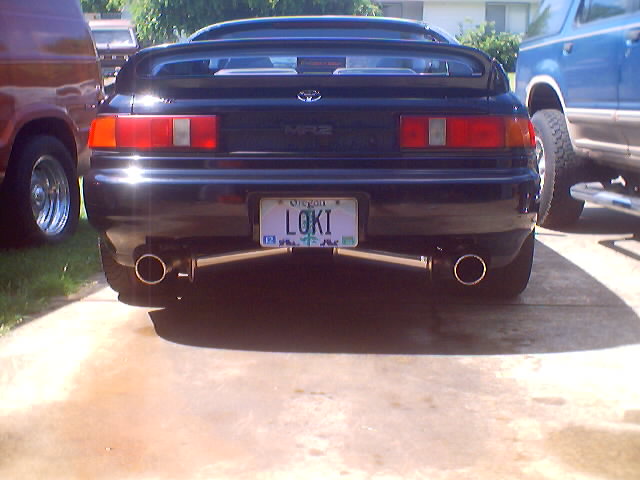
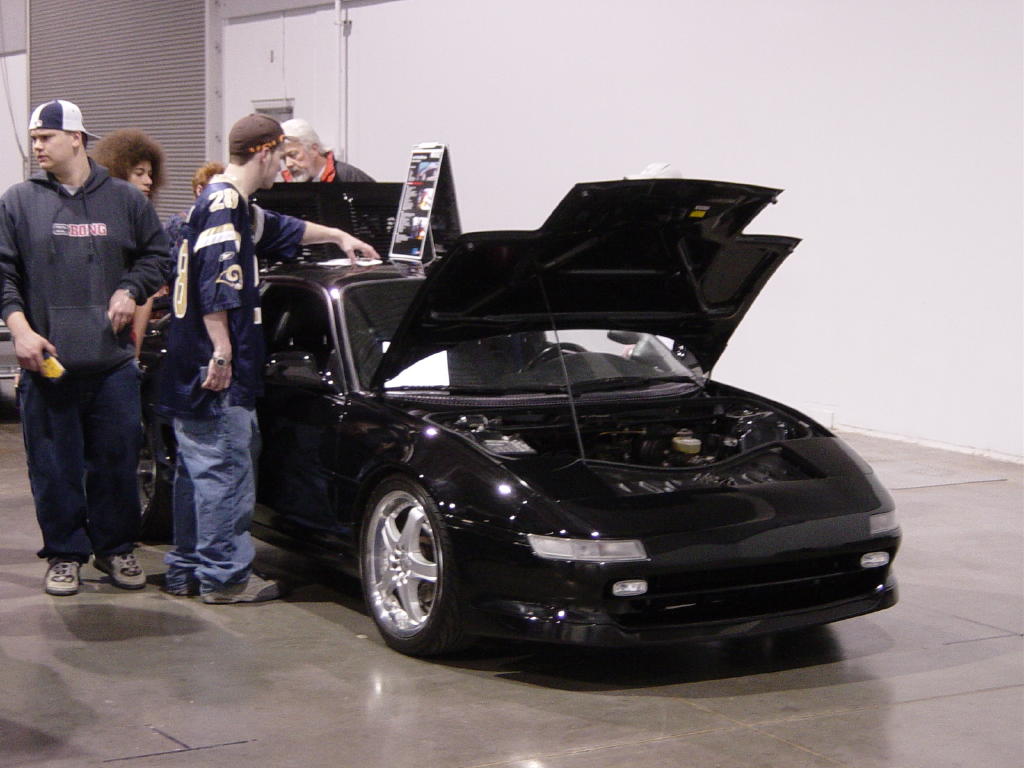
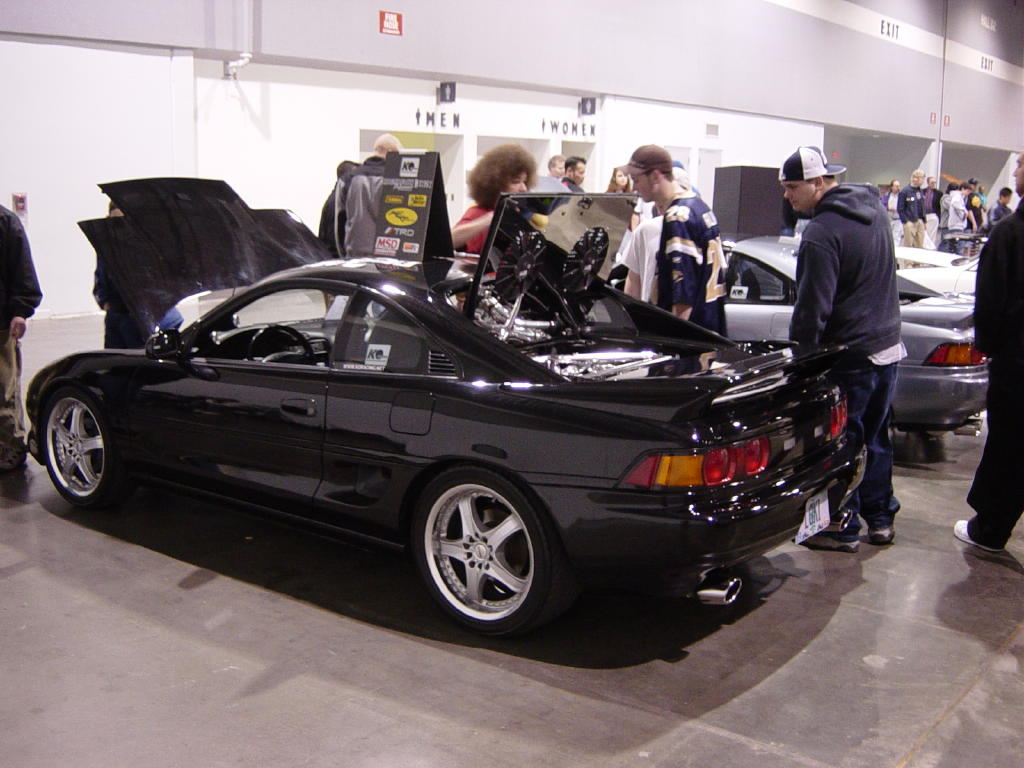
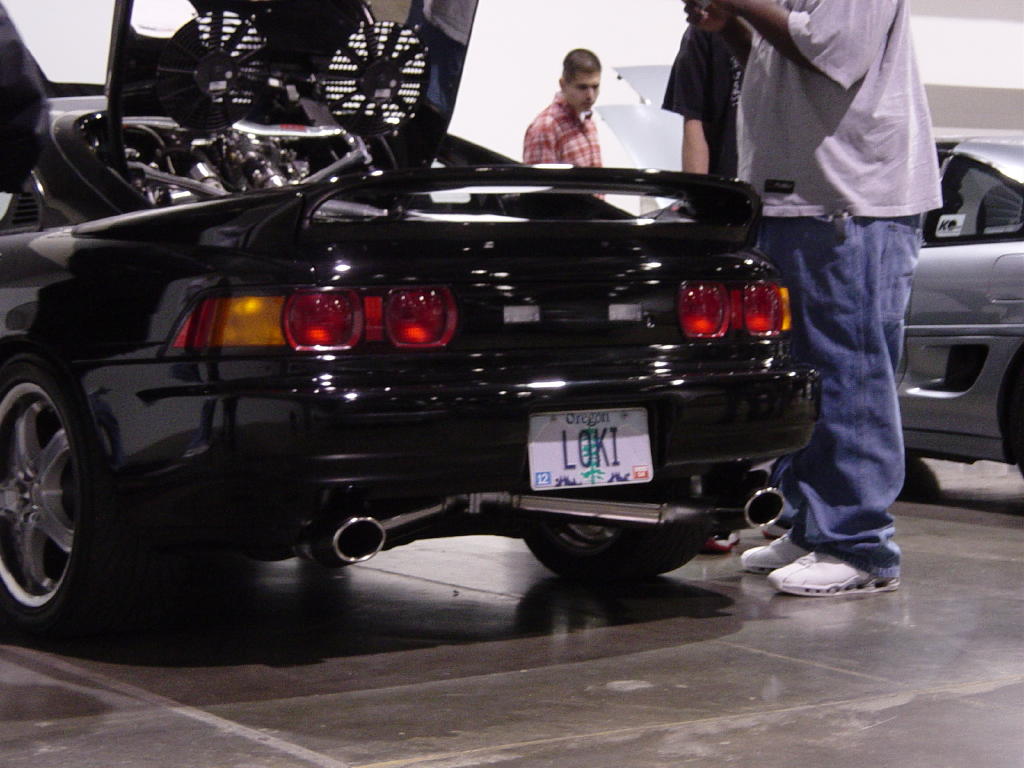
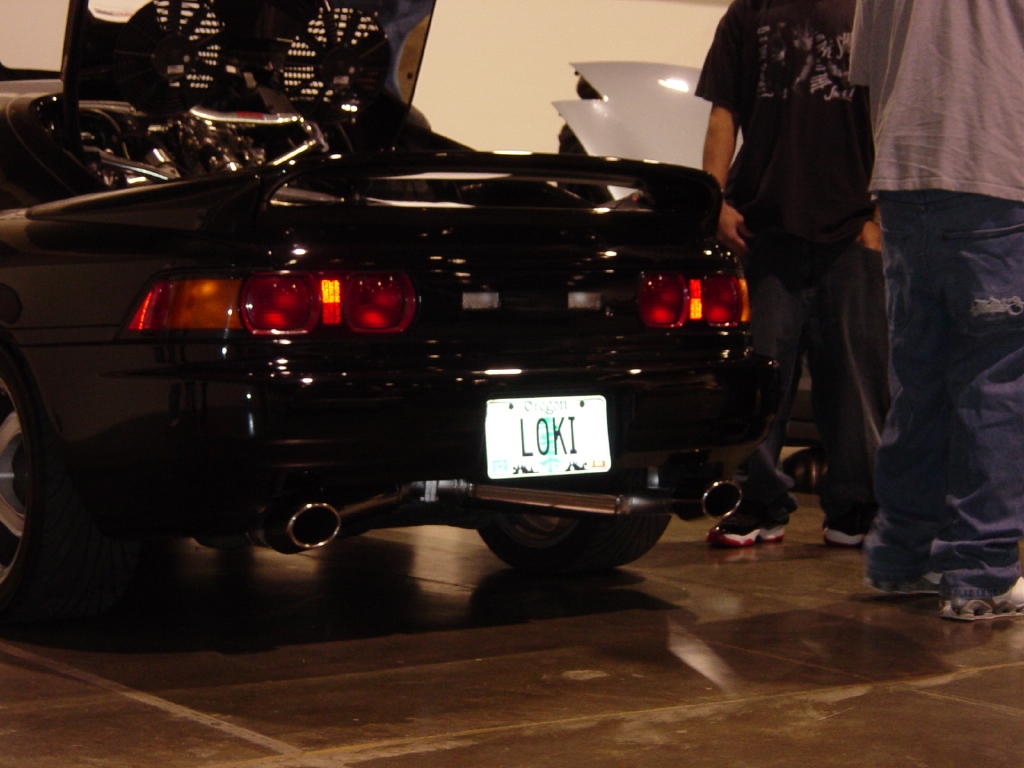
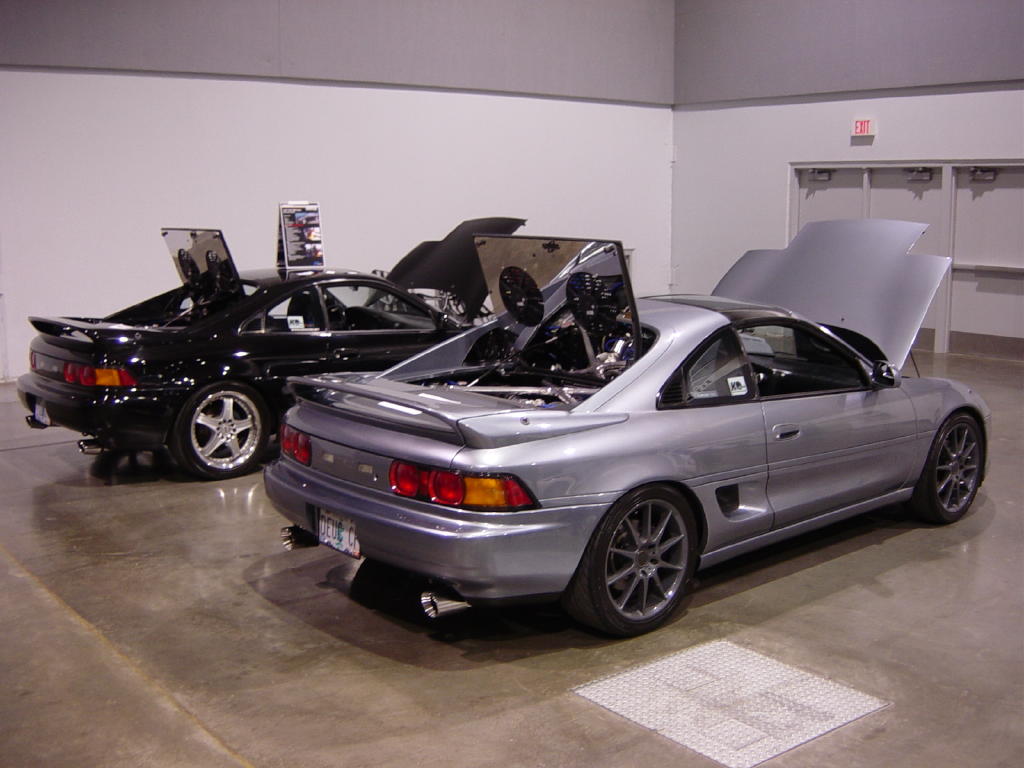
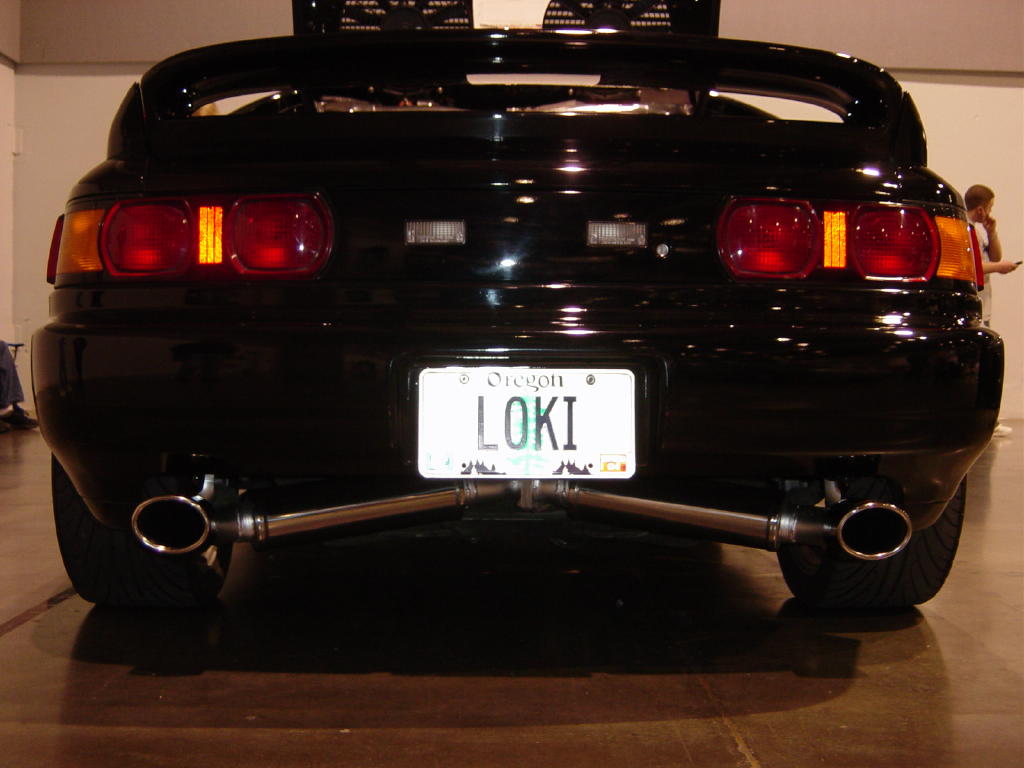
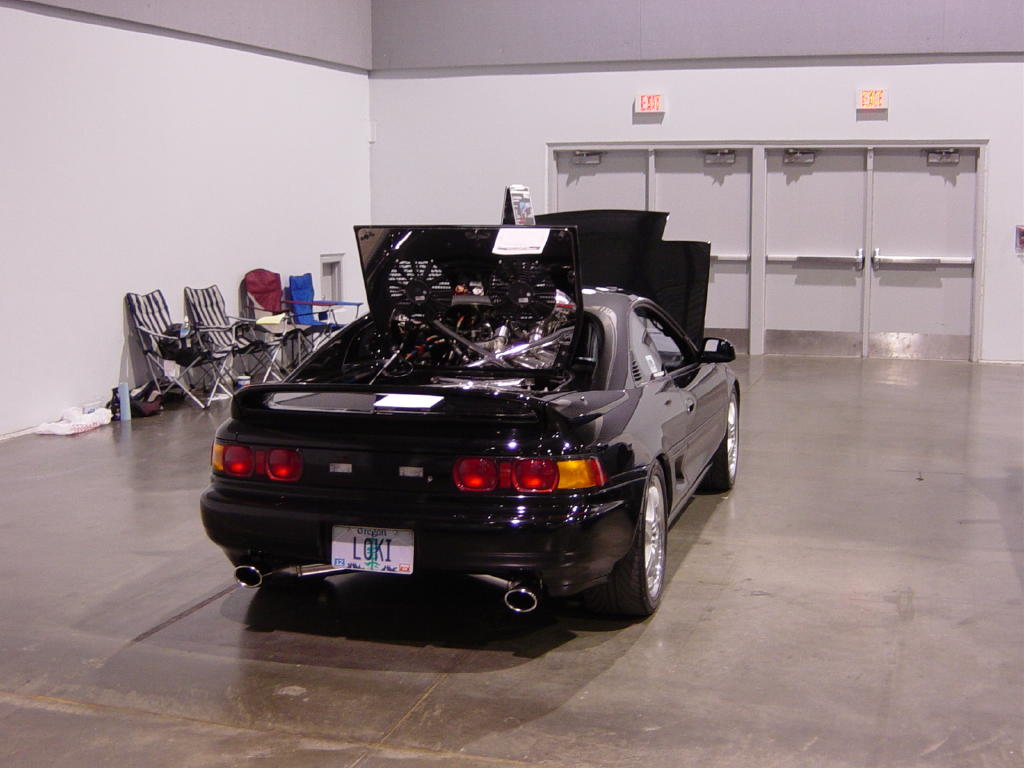
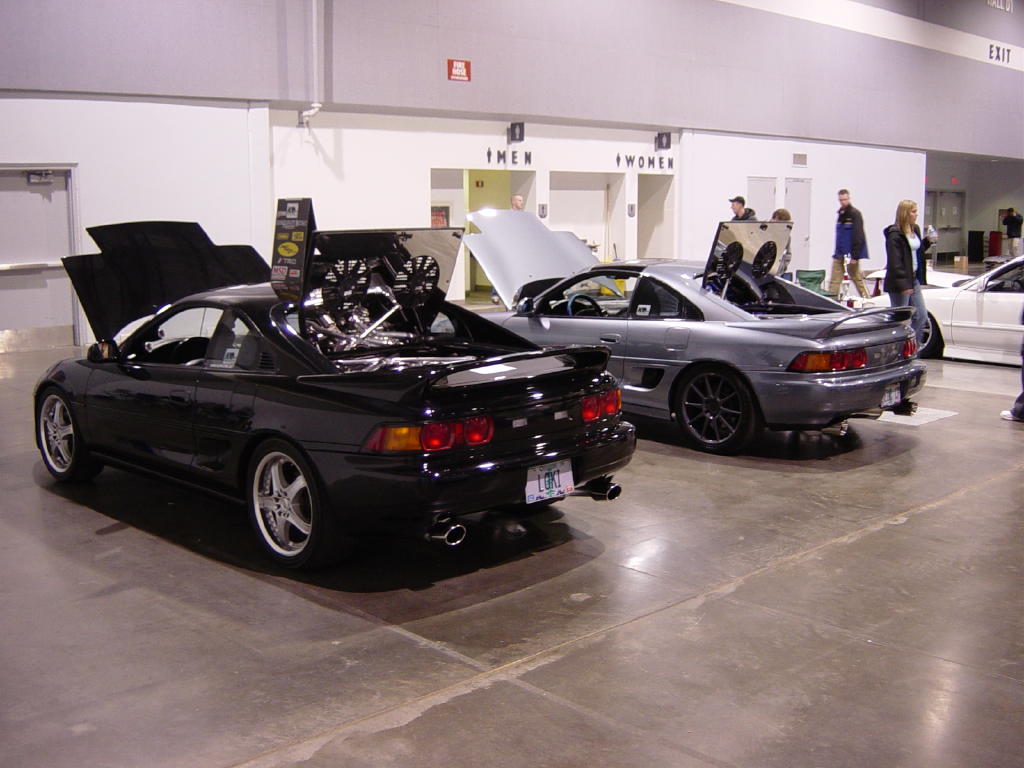
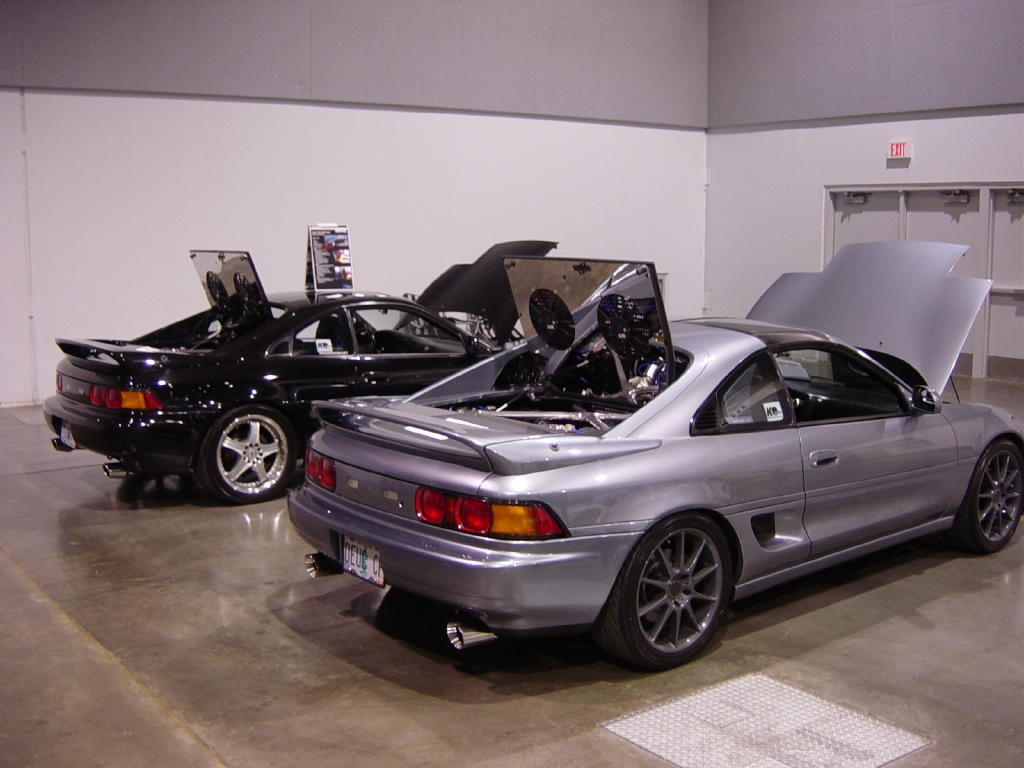
- Loki Rear This is a shot of the rear of my 91 MR2 (named "Loki").
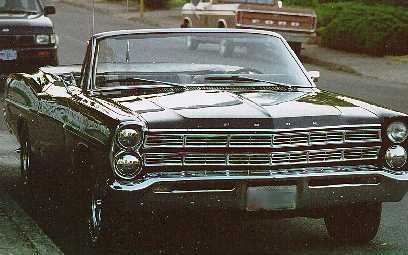
- Luci Front This is a picture of the front of my 67 Ford Galaxie convertible (named Luci).
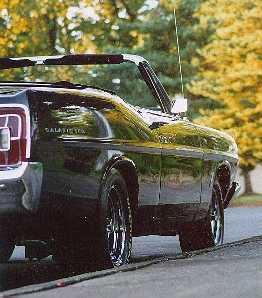
- Luci Rear 3/4 This is a picture down the side of my Galaxie.
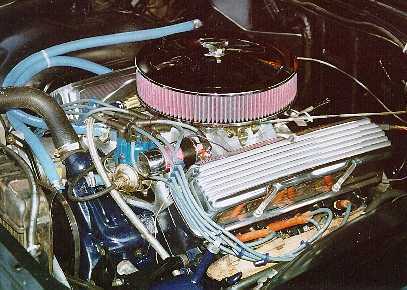
- Luci Motor This is a picture of Luci's motor right after I had some headwork done.
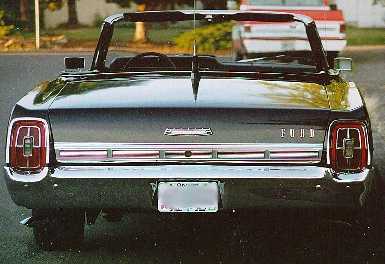
- Luci Rear This is a picture of the rear of Luci.
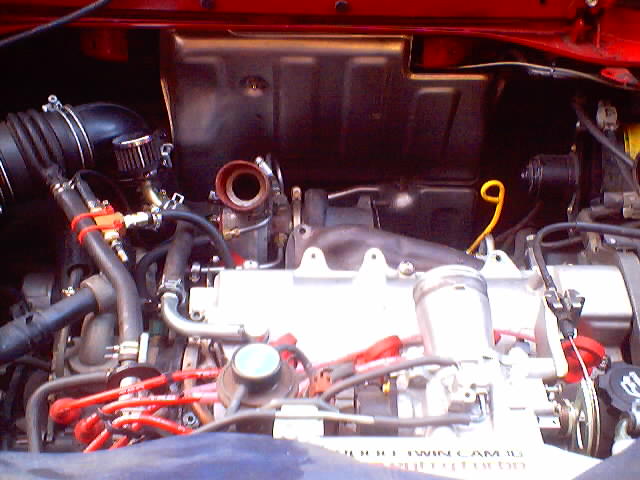
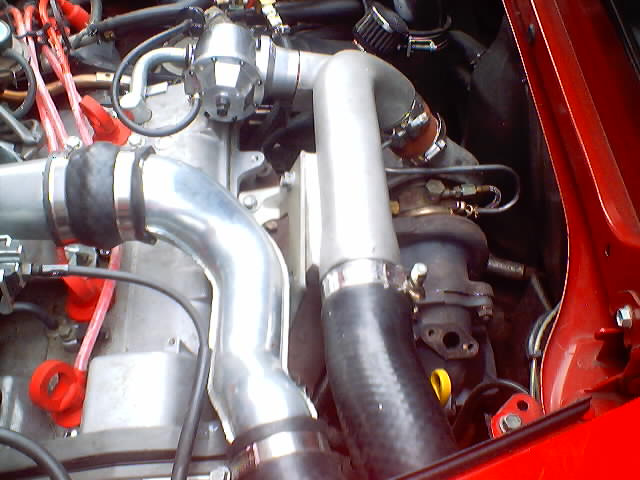
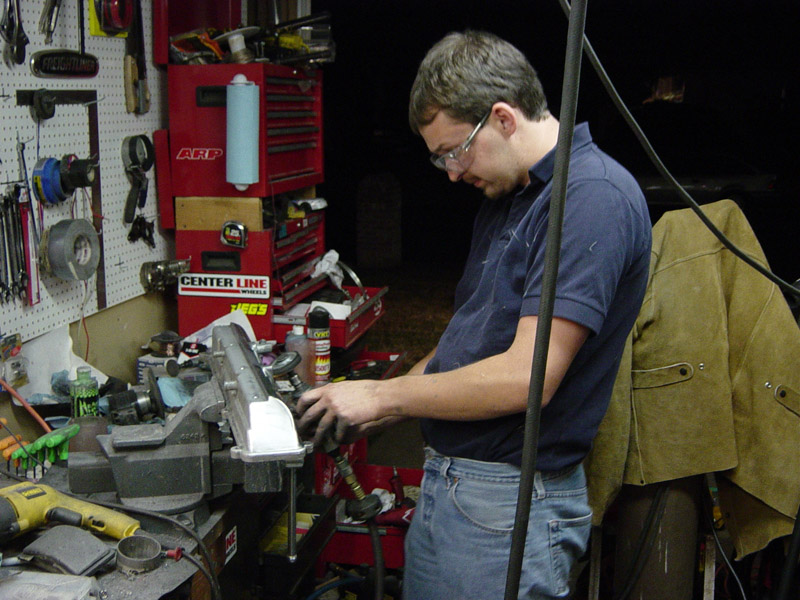
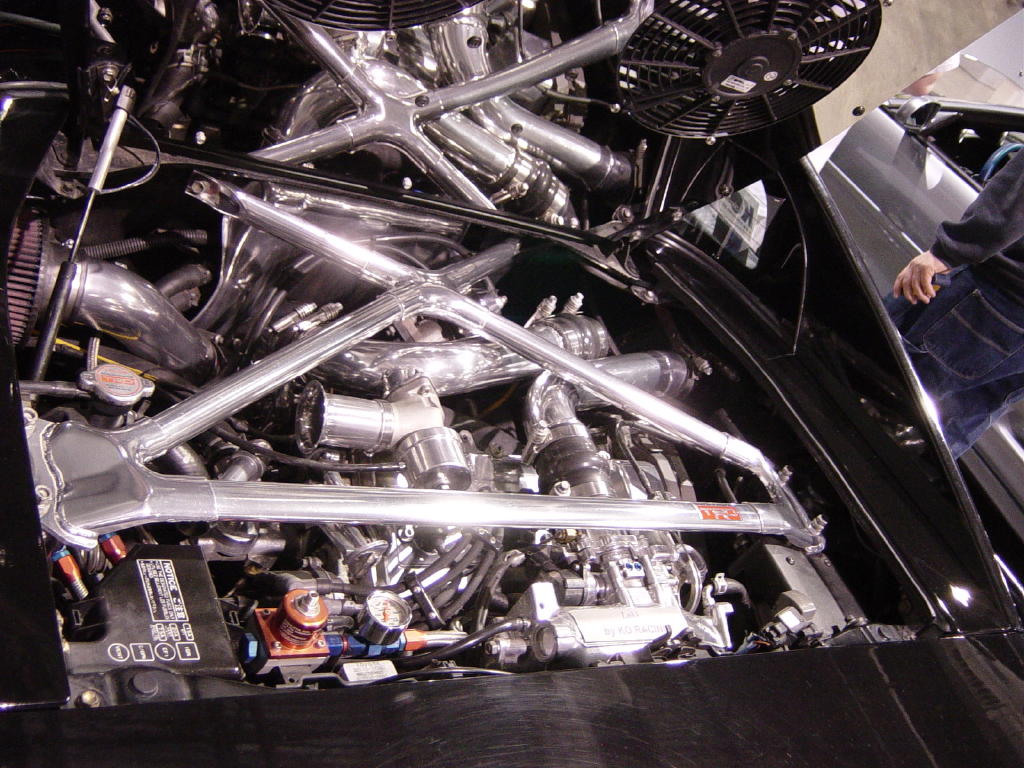
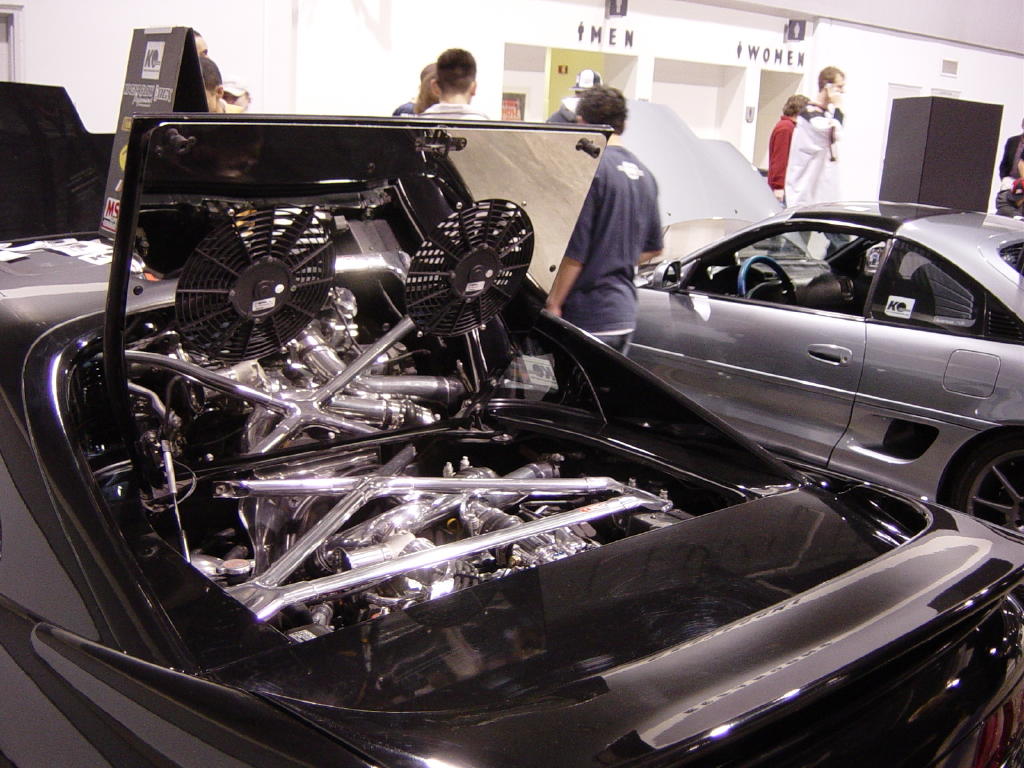
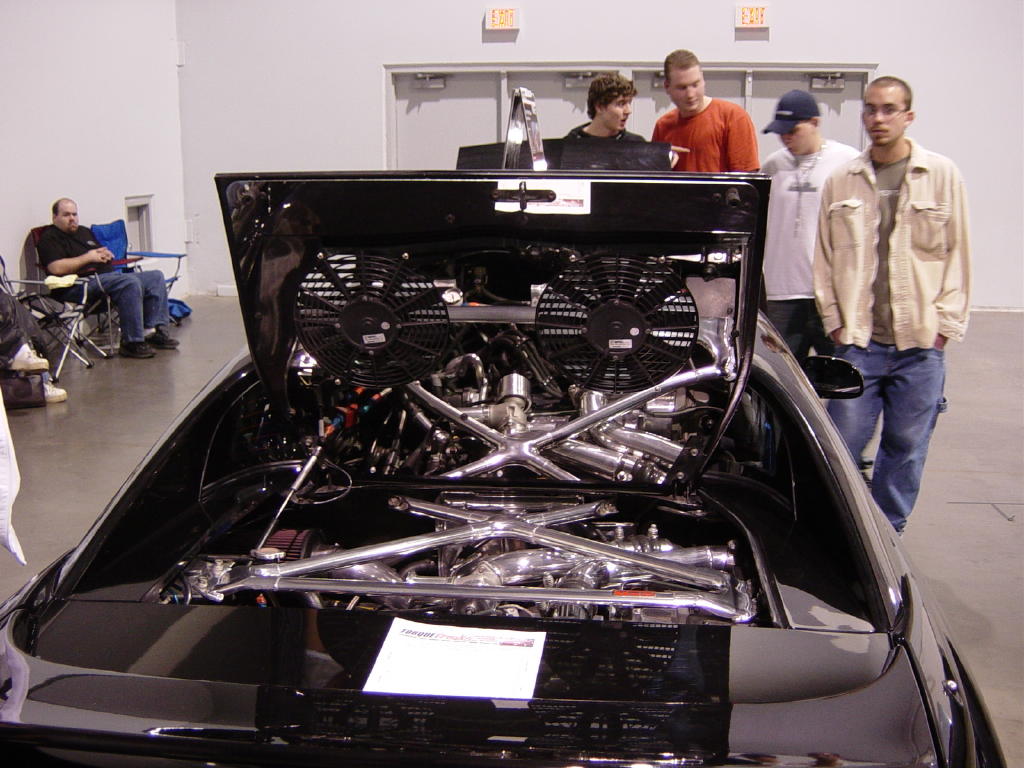
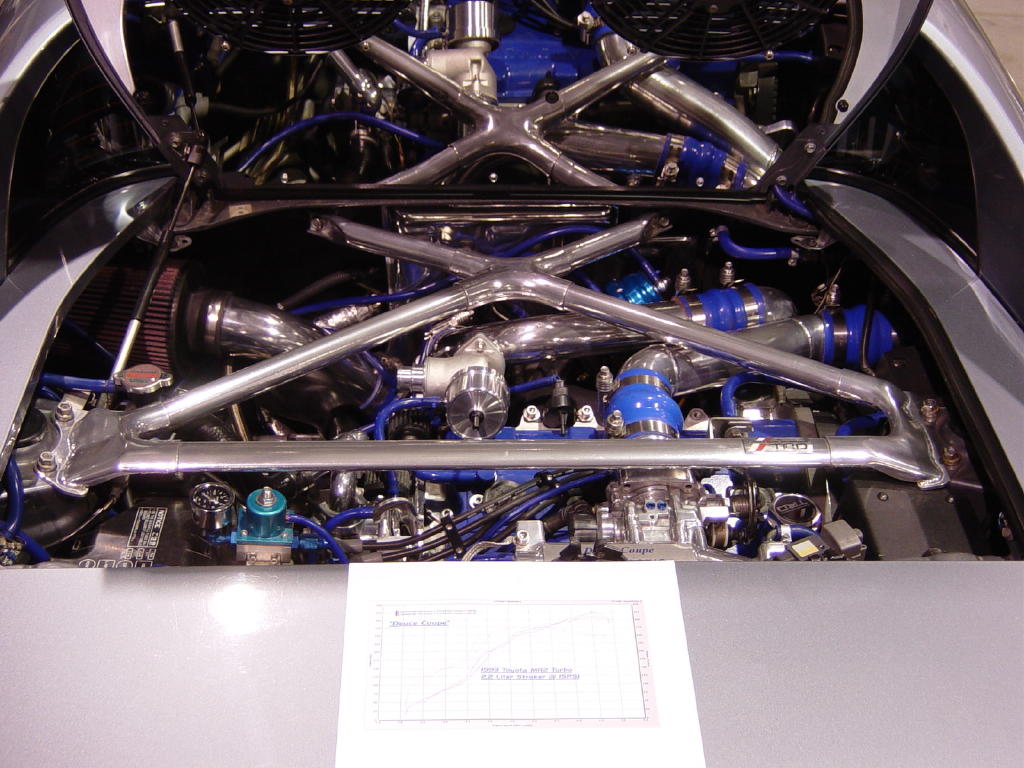
- MR2 Engine Here's a picture of John Santesson's motor after we installed the ct20b turbo and I made some custom intercooler pipes for his Greddy IC.
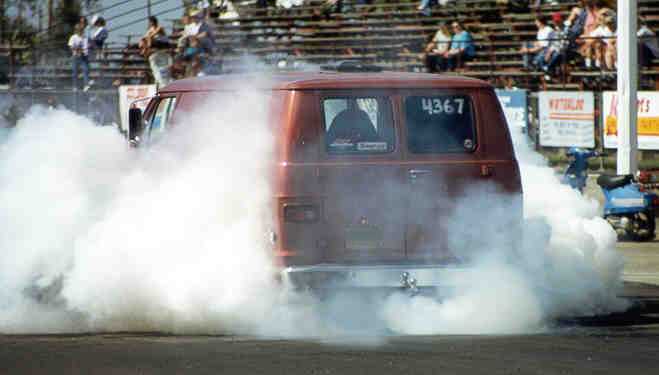
- Tigerlilly This is a picture of my brother Alik's van doing a burnout (van named "Tigerlilly").
- Tigerlilly video This is a short movie (661k) of my brother Alik's van doing a burnout at Woodburn Drag strip in Oregon.
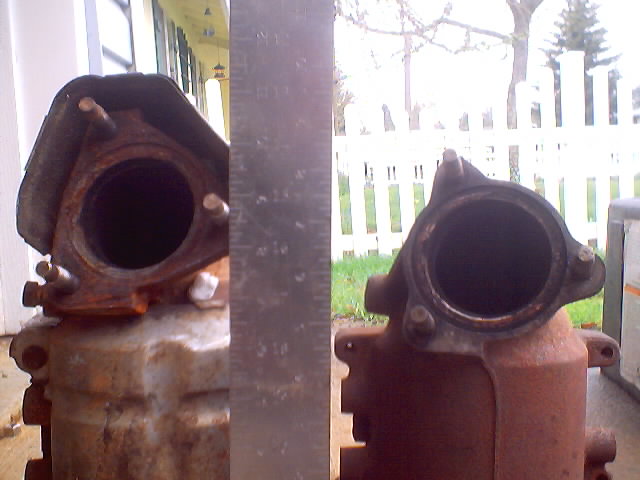
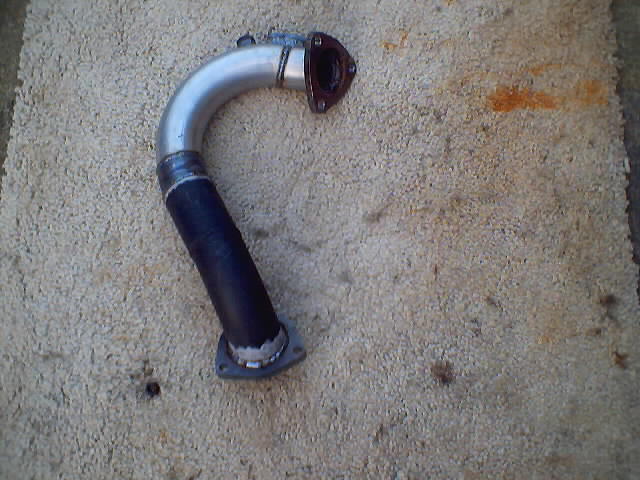
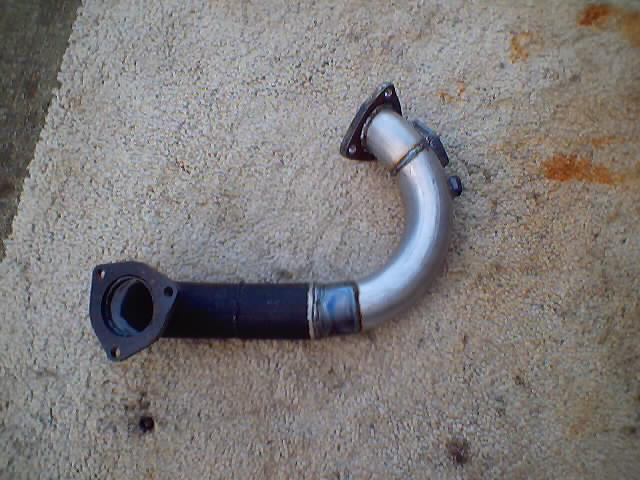
- All-trac vs. MR2 cat This is a picture that shows the length difference of the All-Trac cat versus the MR2 cat.
- All-Trac vs. MR2 cat This is another picture that compares these two cats. The resolution is bad, but the length of the MR2 cat is about 10" where the All-Trac is about 11".
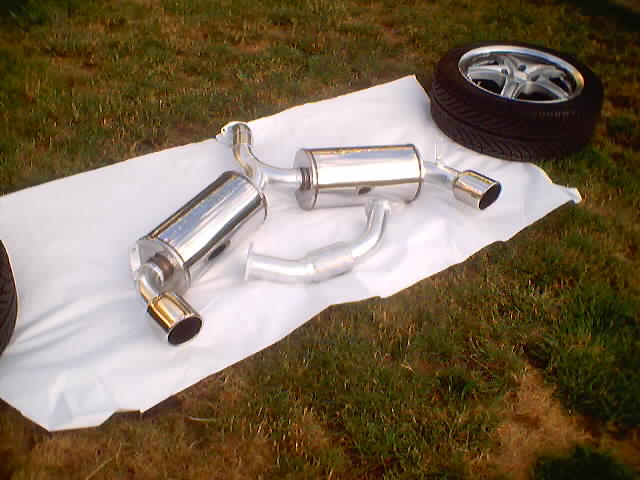
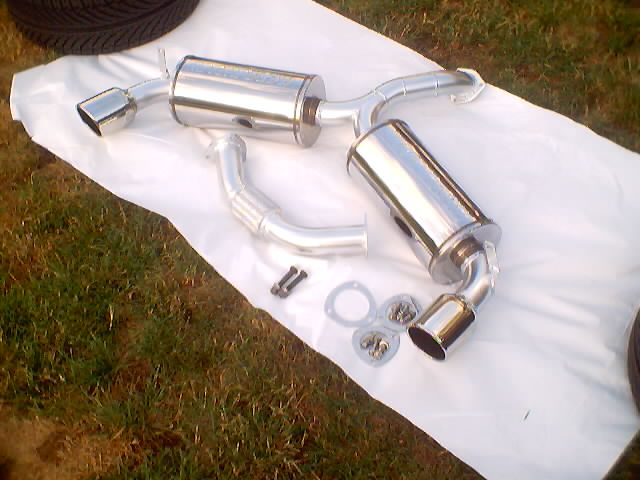
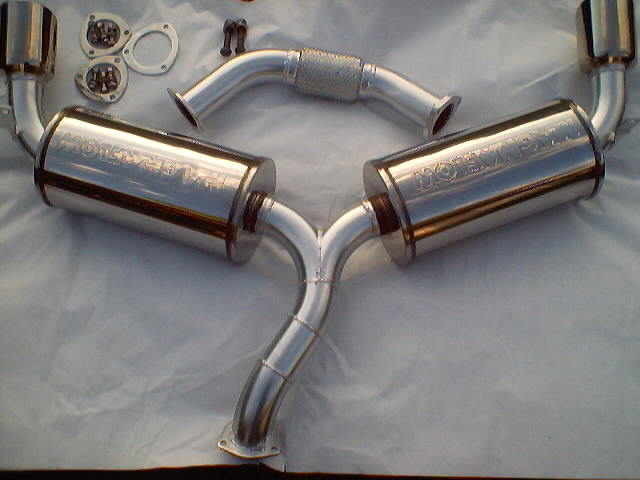
- Here's a few pictures from the fabrication of Greg Rubin's (Greggy G's) custom KORacing DME (Dual Muffler Exhaust).
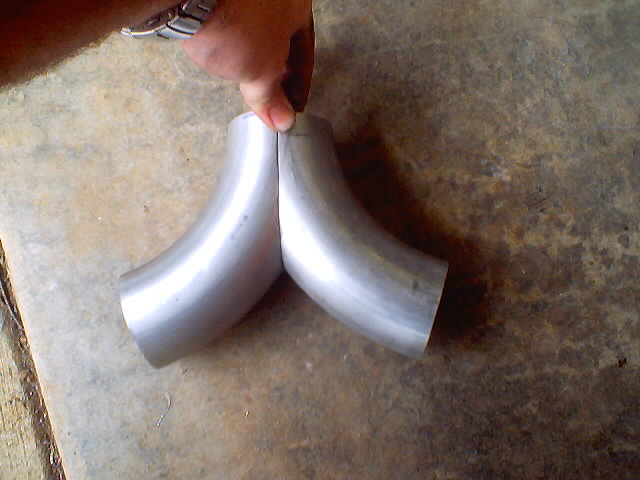
- DME Layout This is a picture where I layed out the components and checked measurements for clearance.
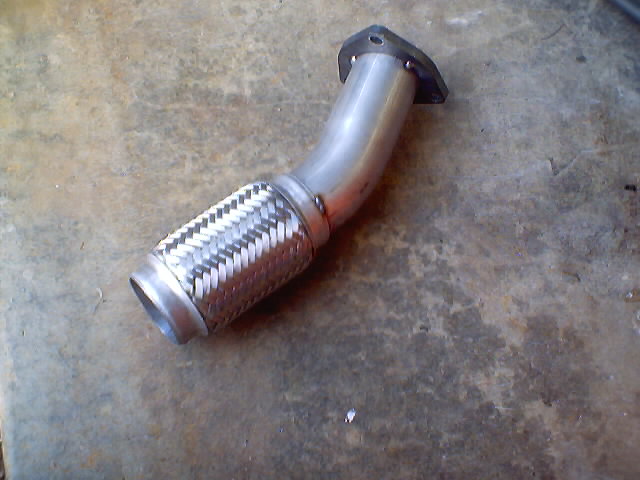
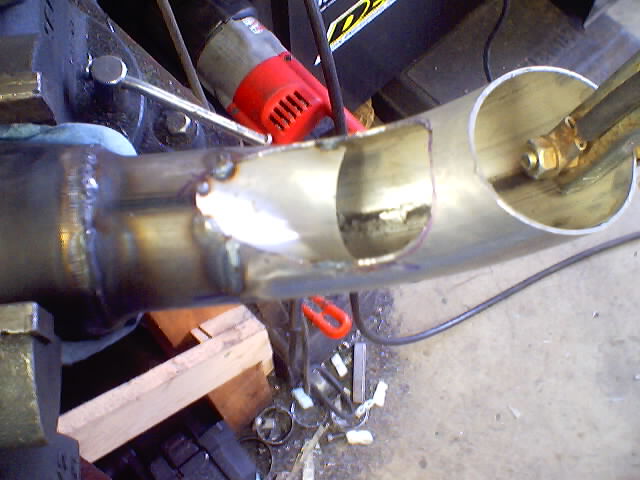
- DME Bpipe Started This is where I started with the b-pipe flex portion of the exhaust. When fabricating a custom exhaust, I usually start at the front up to this point, then start at the rear and meet in the middle. The flange is a laser cut flange that matches the bolt pattern of the stock cat.
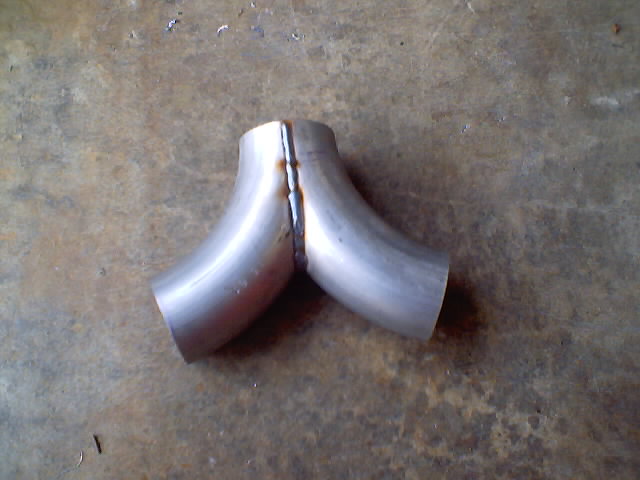
- DME Y-pipe Test Fit A key factor in fabricating this exhaust was the even distribution of exhaust gasses to both mufflers. This is handled by the y-pipe seen here.
- DME Y-pipe Welded Here the Y-pipe has been welded.
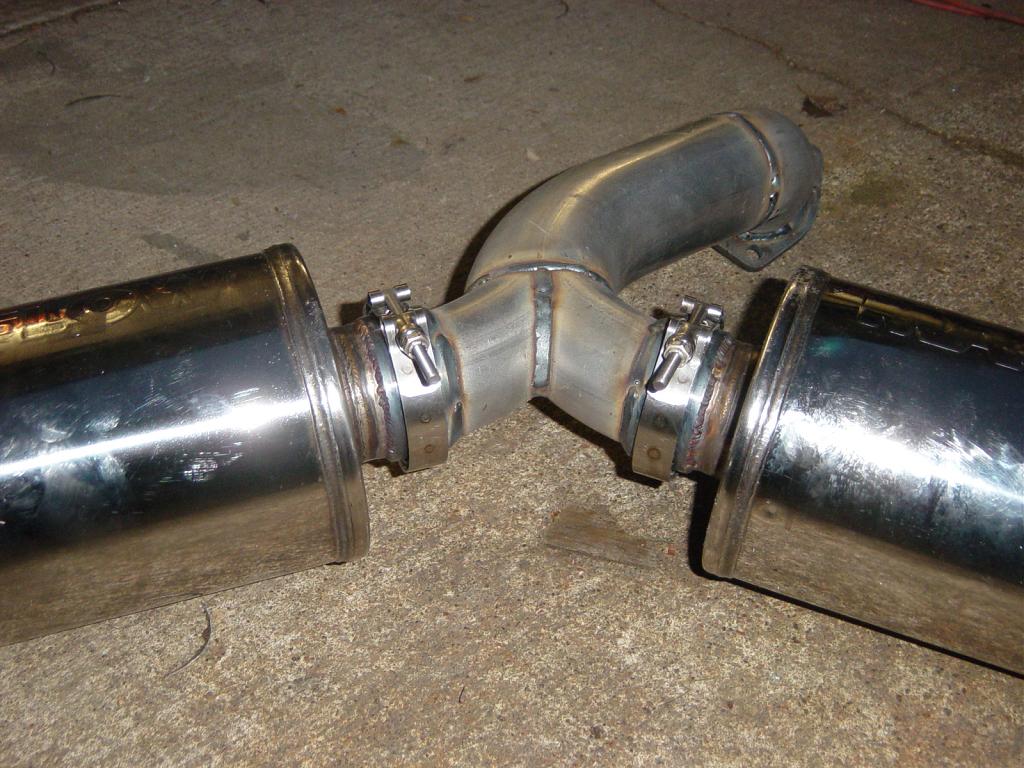
- DME Mufflers & Y-pipe Here the Y-pipe has been fitted between the two mufflers and tacked in place.
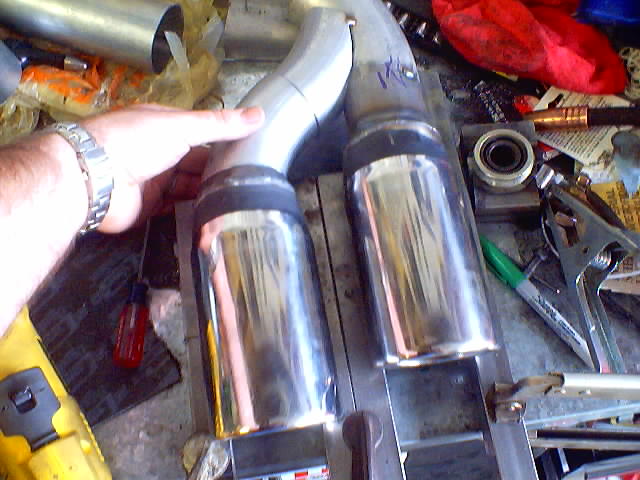
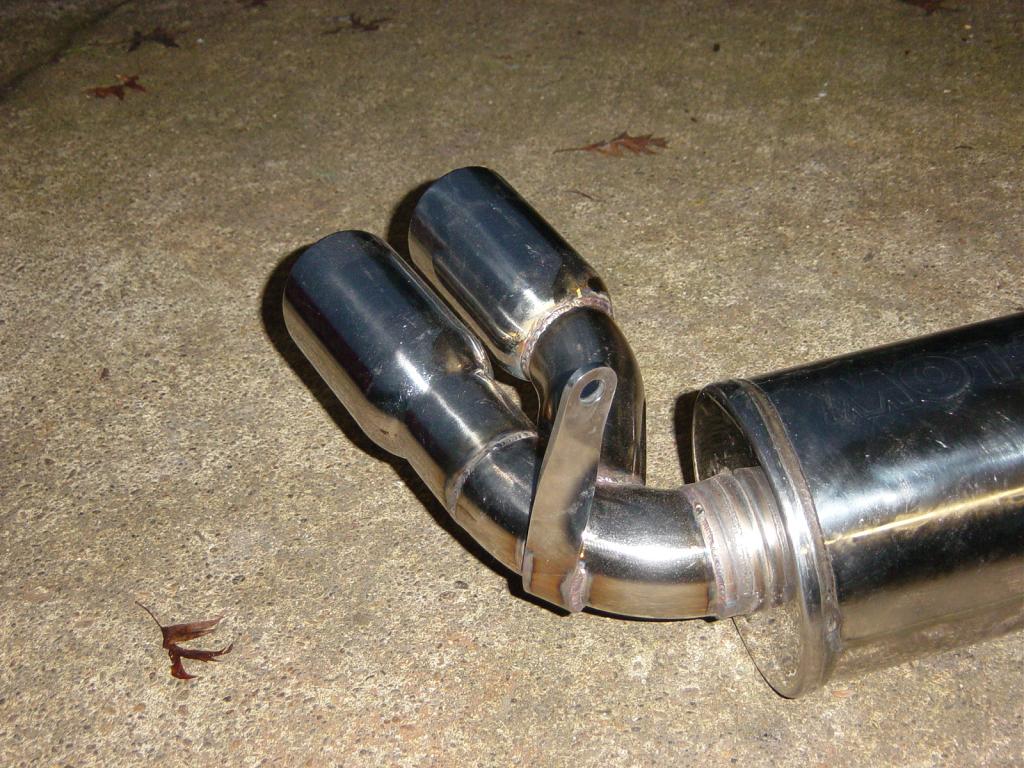
- DME Tips Fitted Here the tips have begun construction and the inner secondary tips are being fitted.
- DME Tip Splitter In order for the 4 tips to all be functional, a splitter was inserted where the secondary tips diverge.
- DME Tips Tacked The piping for the secondary tips is tacked in place at this point, then I test fitted it on the car to ensure the look was right. The inner secondary tips are extended about 1" further to complement the contour of the bumper.
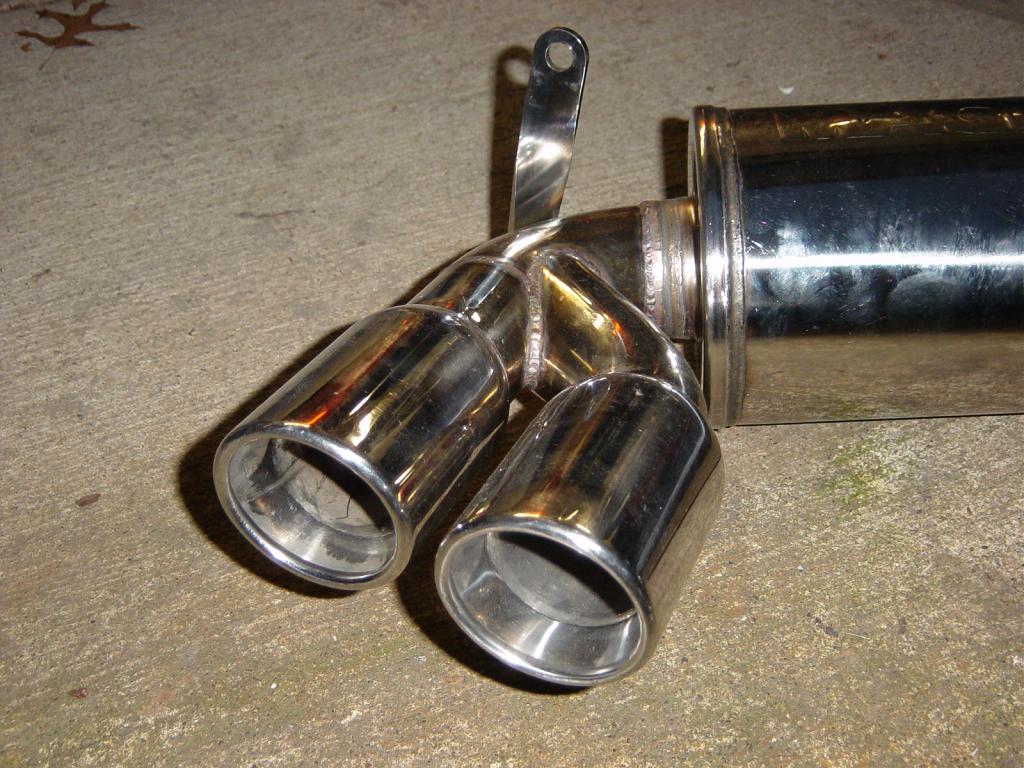
- DME Tips Welded Here the tips are fully welded. The tips are stainless steel, and all the piping is aluminized mild steel.
- DME Fit on Car After making sure the tips aligned the way I wanted, I tacked everything together while on the car.
- DME Welded Out of Car I pulled the exhaust out and fully welded it all together.
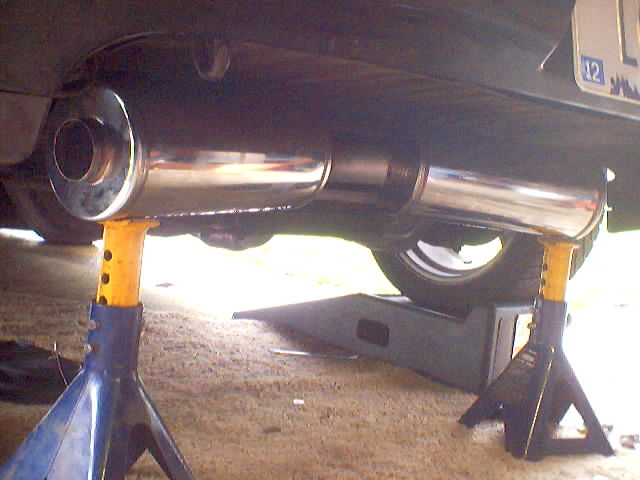
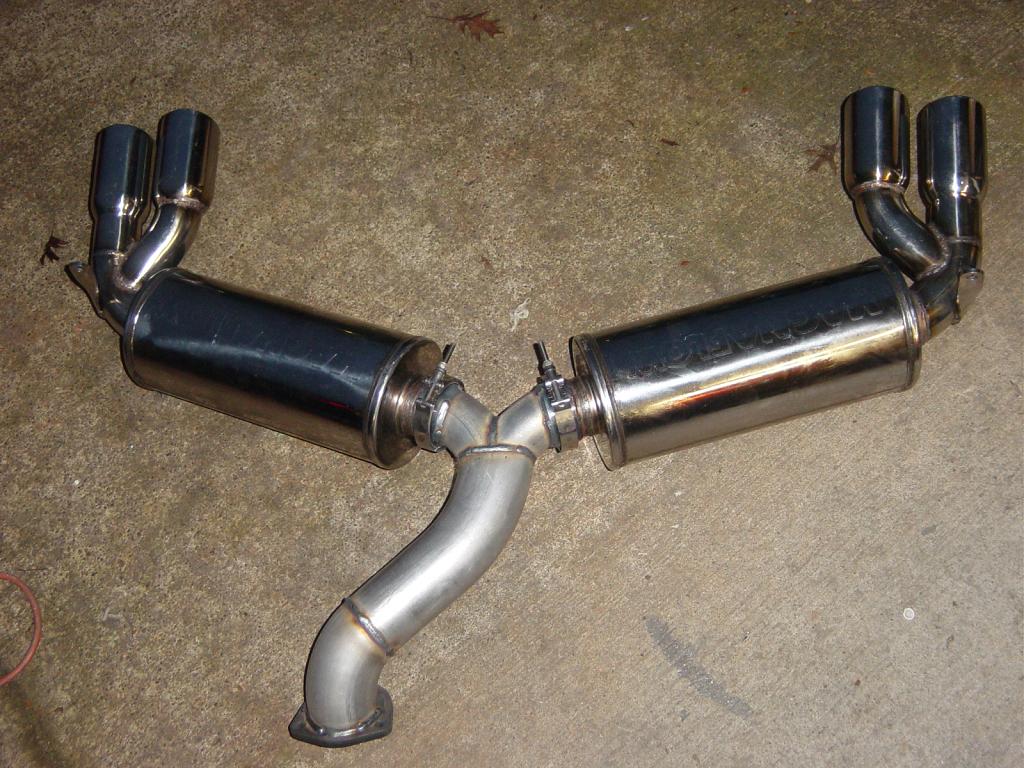
- DME Installed Here is another shot of it installed on Loki. If you look at the reflection of the tips in the bumper, you can see they are fairly even with the curvature of the body because of their stagger.
- DME Complete Here is the complete exhaust with the high temp silicone exhaust paint on the pipes and welds to protect them from corrosion. You can also see the Percy's aluminum reuseable gaskets for the flange connections I provided for Greg.
- Here are some pictures from the installation of Scott Perez's HKS TD05 and the custom downpipe I made for that setup.
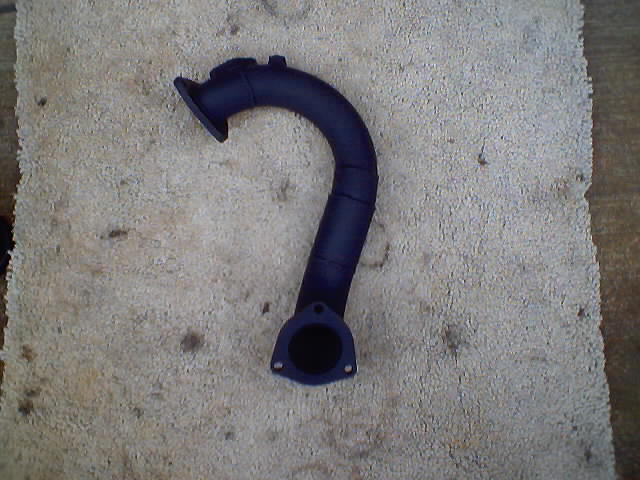
- TD05 Custom Downpipe 1 Here is a picture of the downpipe I fabbed for the TD05. I started with 2.25" piping (the turbine exit was 2"), then stepped to 2.375", and then 2.5" finally to the exit.
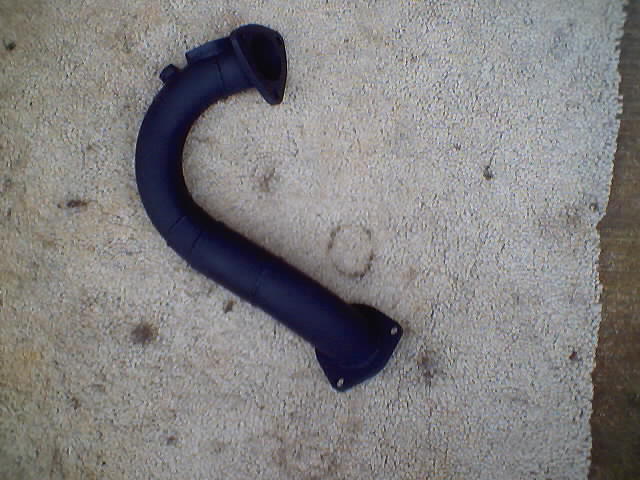
- TD05 Custom Downpipe 2 Another shot of the downpipe. The 2.5" section is black because it was some scrap pipe that already had ceramic coating on it. Scott is getting the entire part coated.
- TD05 Custom Downpipe 3 I welded both a standard toyota flange and an extra O2 sensor port on here for Scott to use when dyno tuning.
- TD05 Downpipe With Coating 1 Here is a picture of the downpipe after it has received it's coating.
- TD05 Downpipe With Coating 2 Another coated pic.
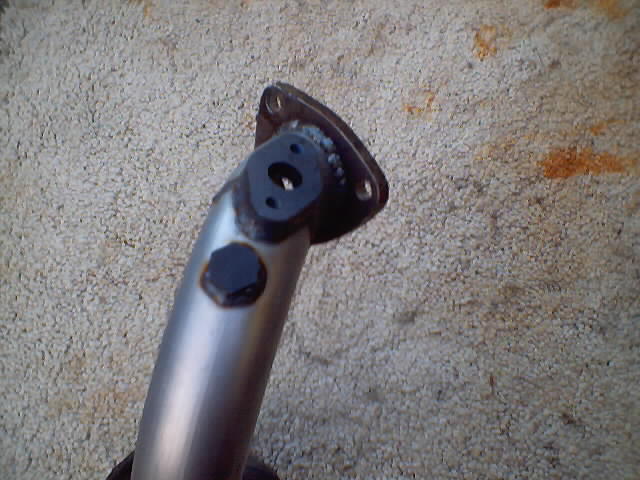
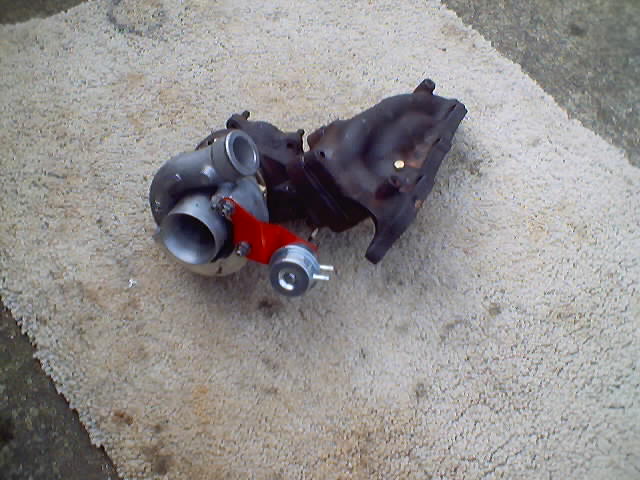
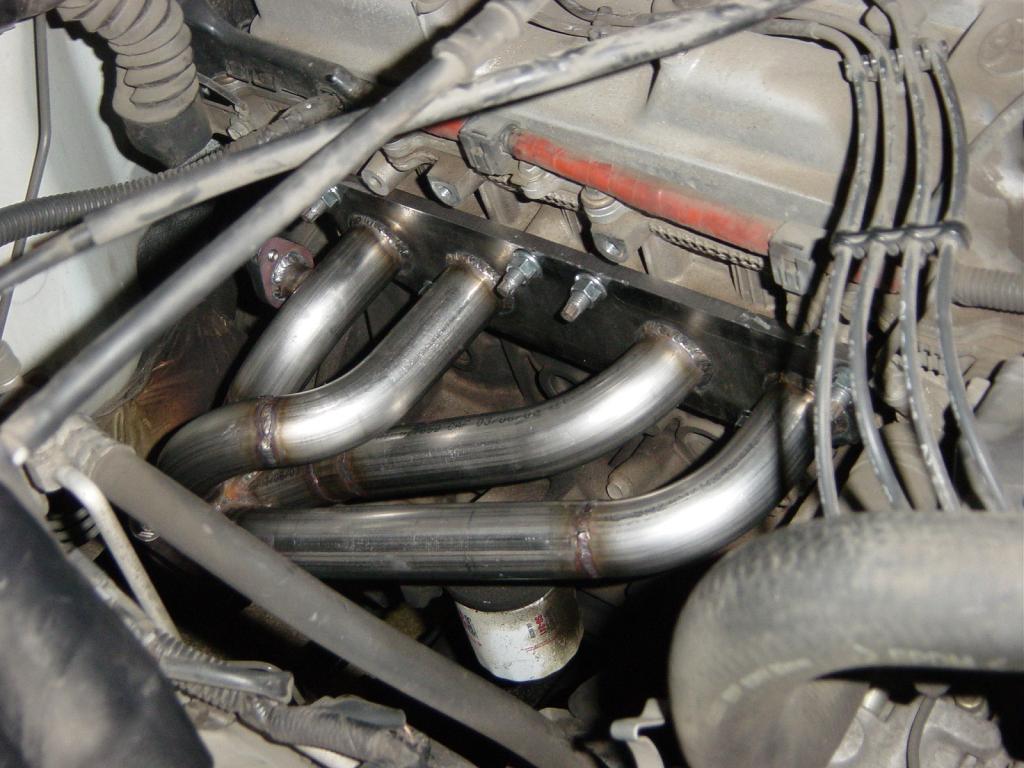
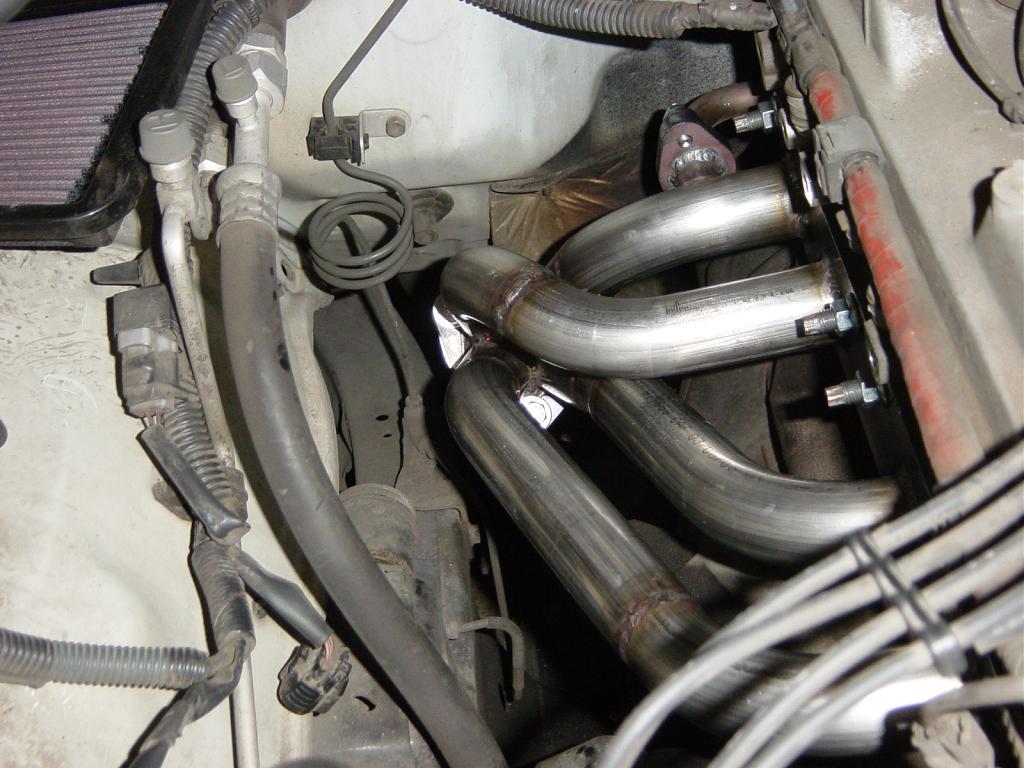
- TD05 on Manifold Here the TD05 is mounted to the manifold. The wastegate actuator mount is painted red because I had to add metal to it in some areas, and cut and reweld it in others to get the position right.
- TD05 Installed 1 In this picture, you can see the turbo installed in the car.
- TD05 Installed 2 This is a little bit better picture of the TD05 in the car. During this installation, several studs were broken or stripped requiring heli-coiling 3 holes in the head, and removal of the manifold-turbo-elbow-primary cat as a unit.
- TD05 Installed 3 Here is a more completed shot of the install.
- These are some more pictures of the TKO exhaust system.
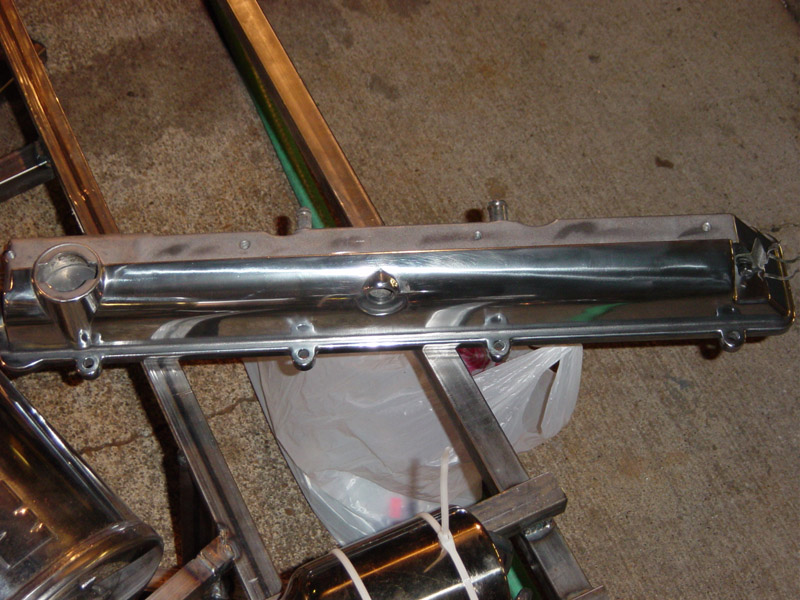
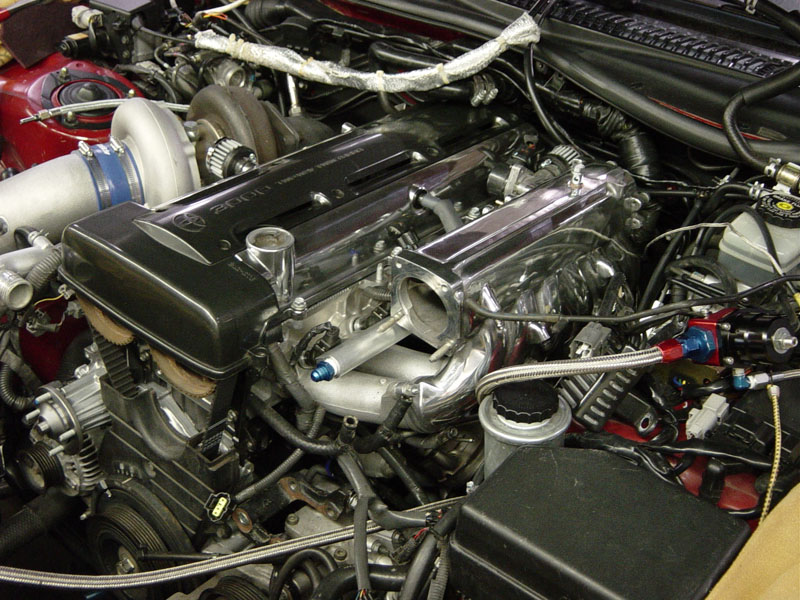
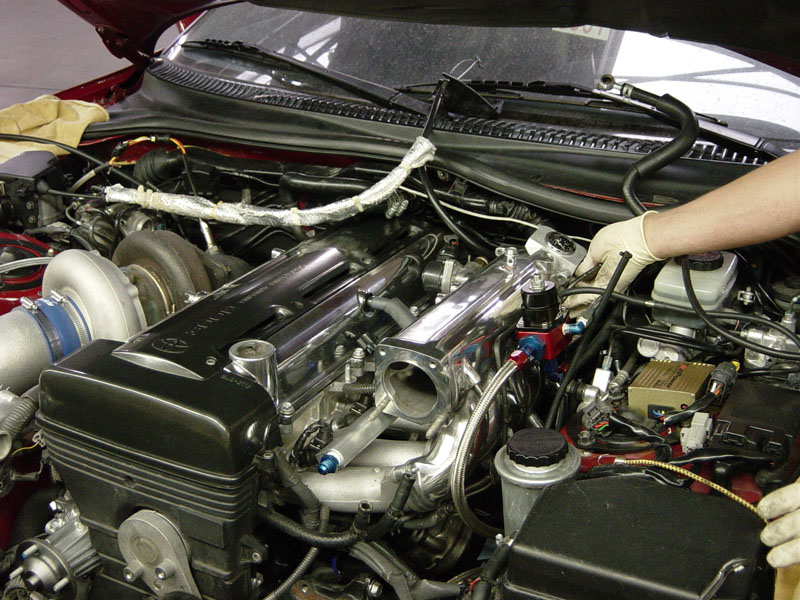
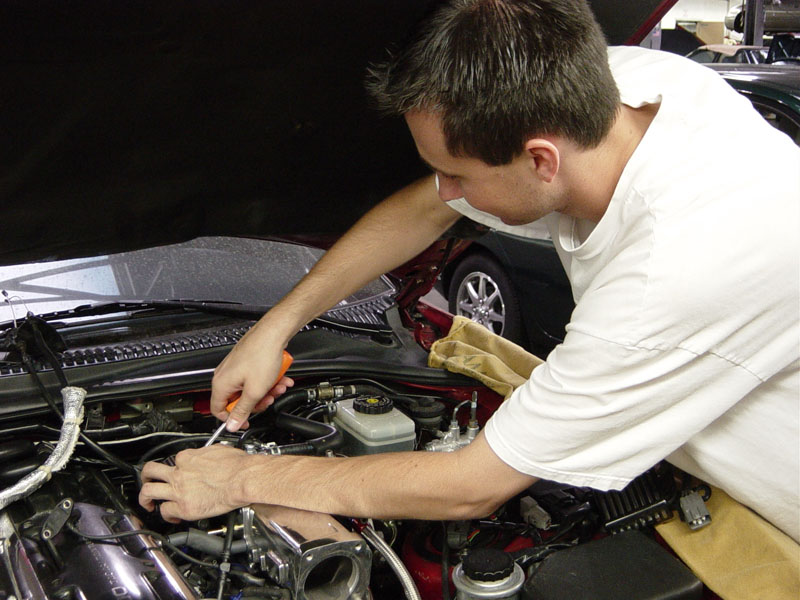
- Here are some pictures of Sean McElderry's Supra that John Reed of Torque Freaks did a motor build on. Kris Osheim and John Reed did the polishing of the manifold and valve covers.
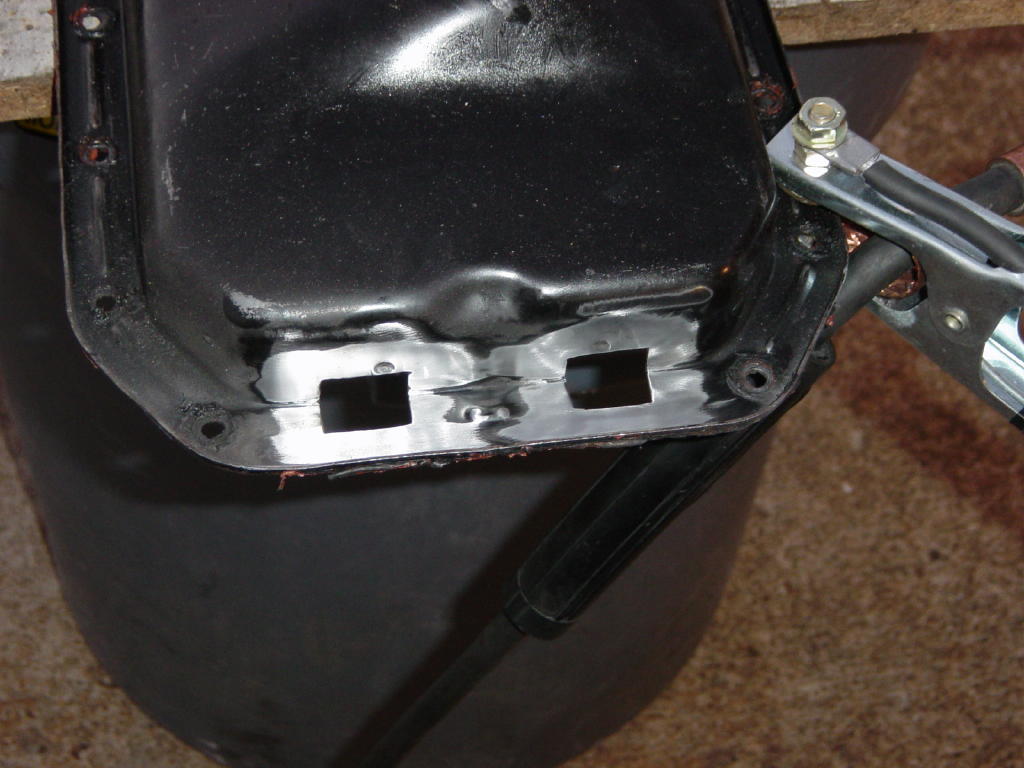
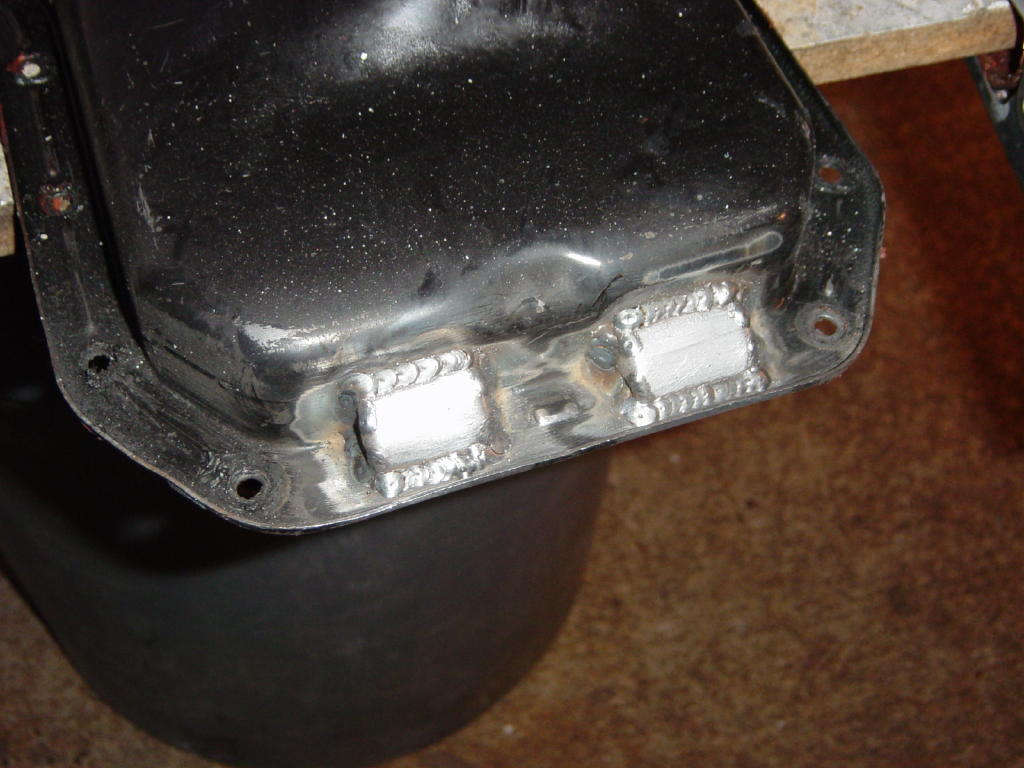
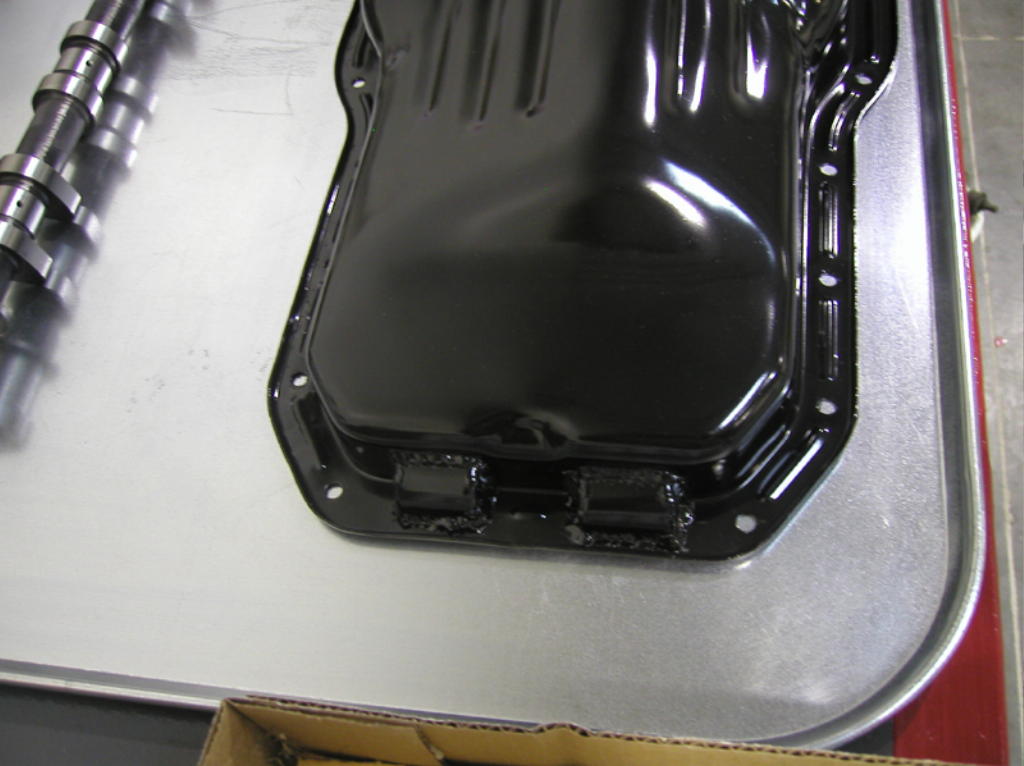
- Here are some pictures of a 3SGTE Oil Pan modified to clear ARP main studs
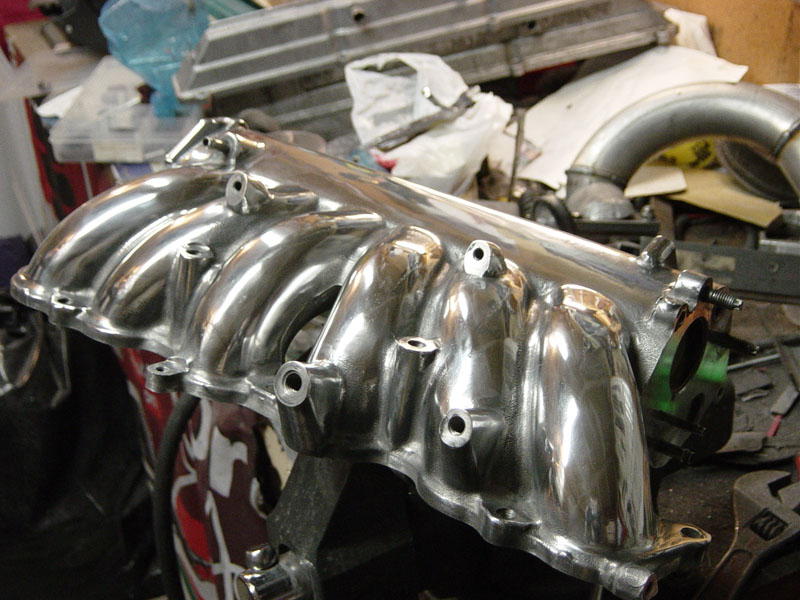
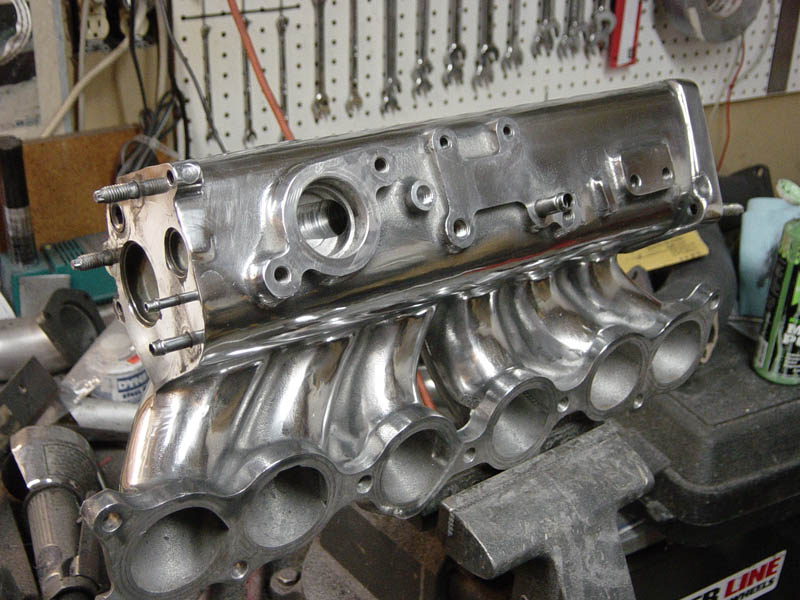
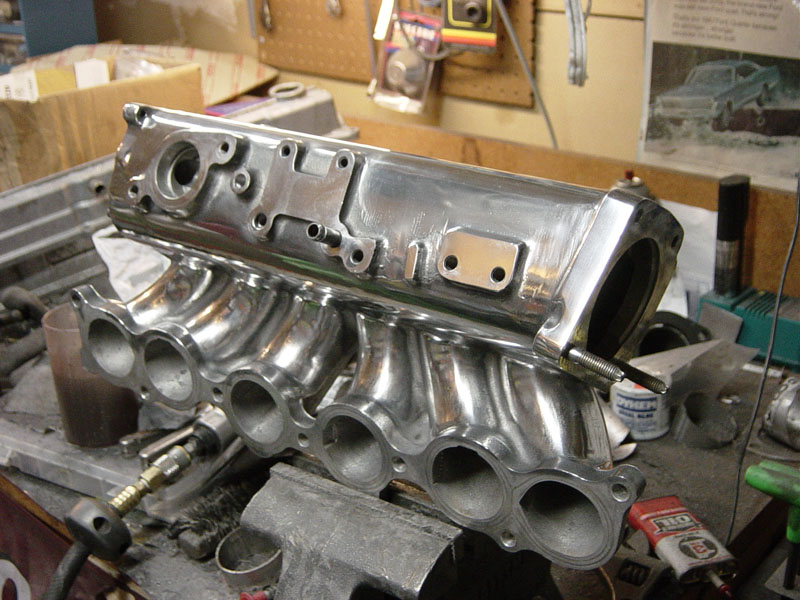
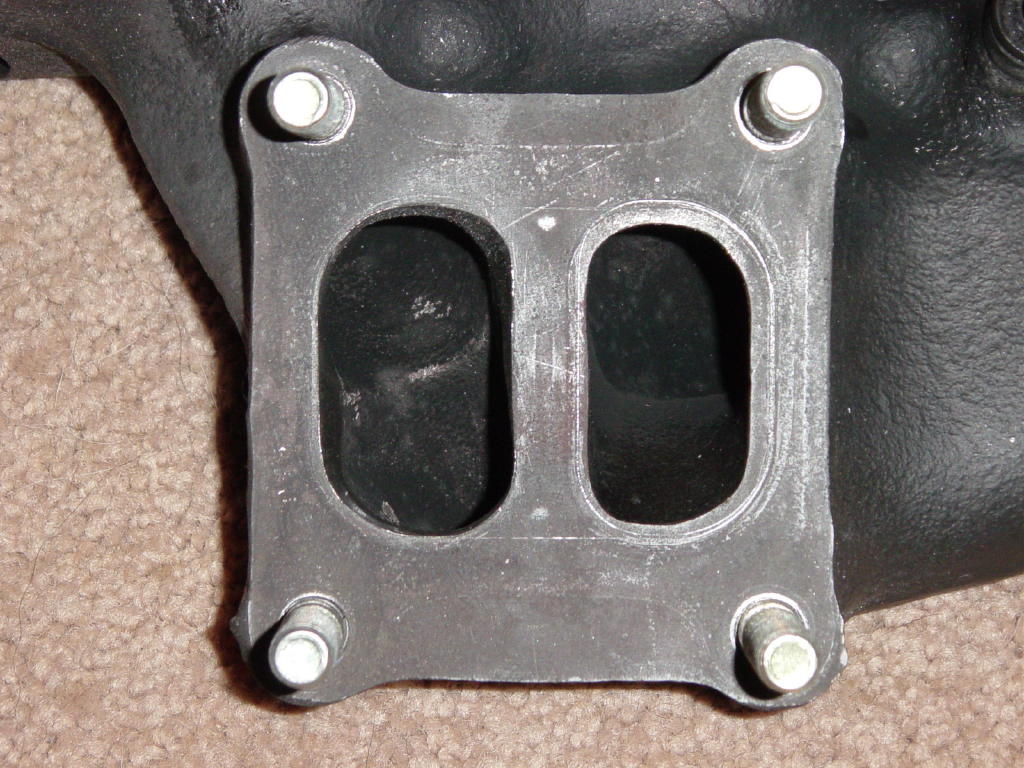
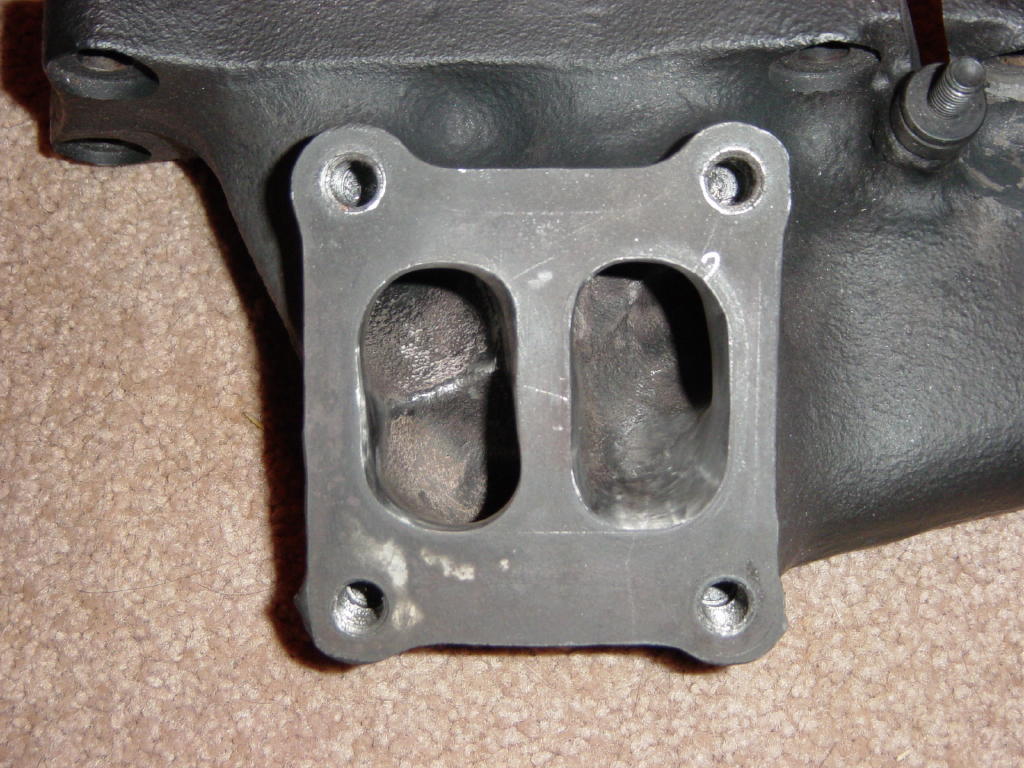
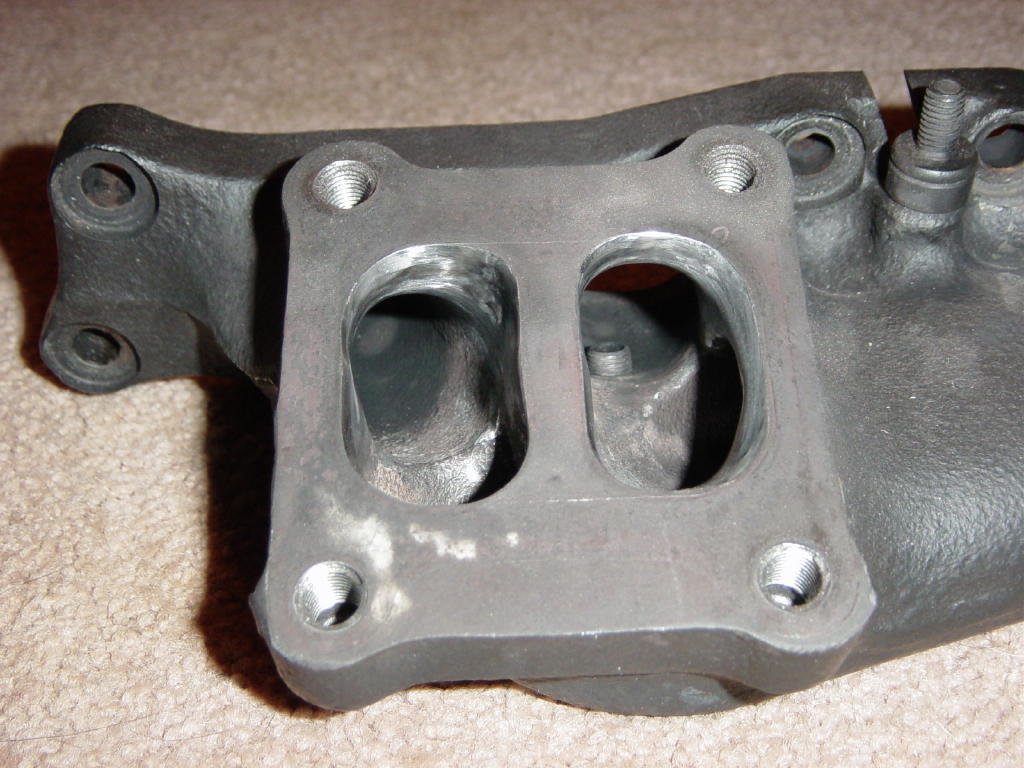
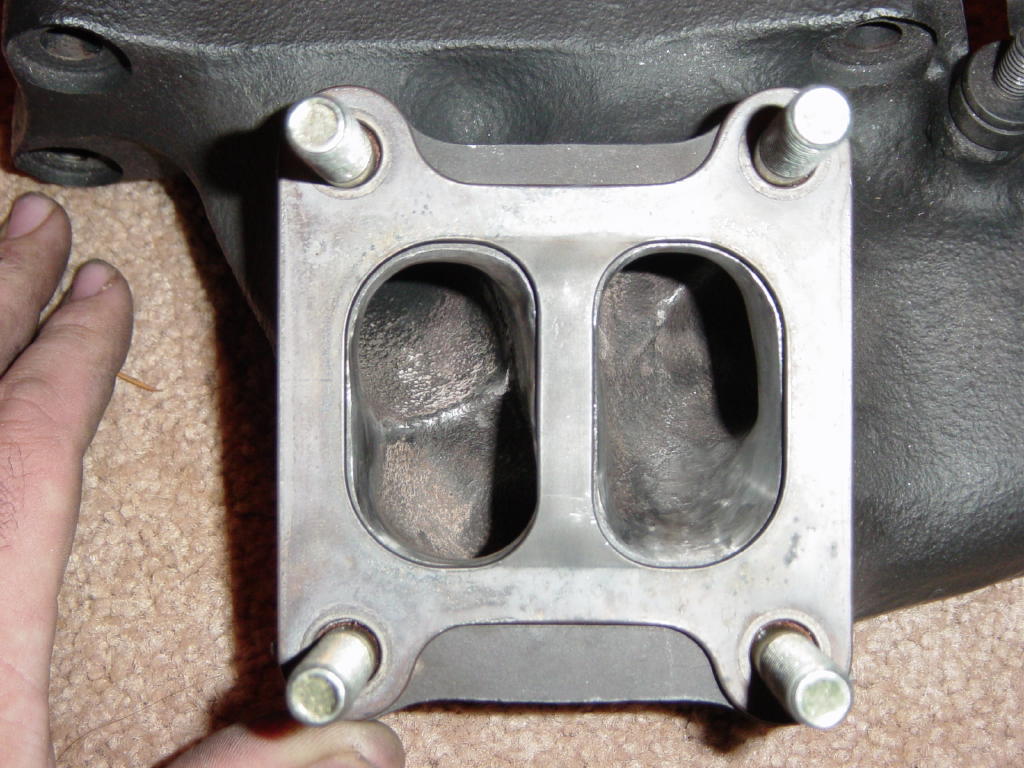
- Here are some pictures of Ken Blake's Exhaust manifold that was gasket matched by Kris Osheim.
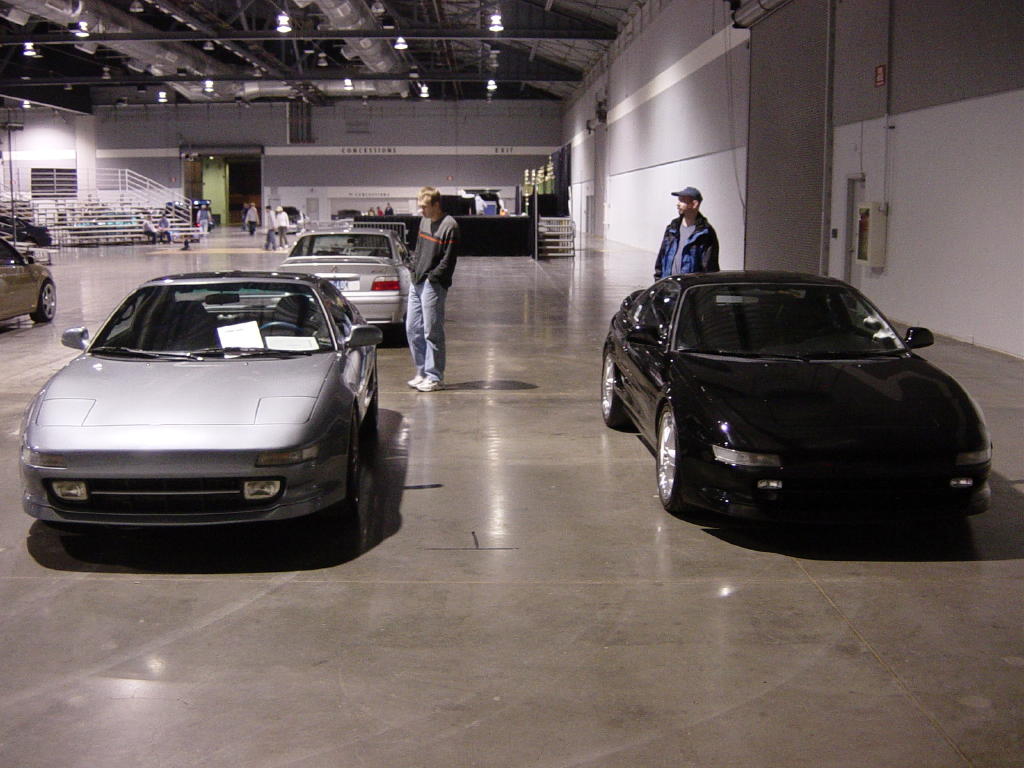
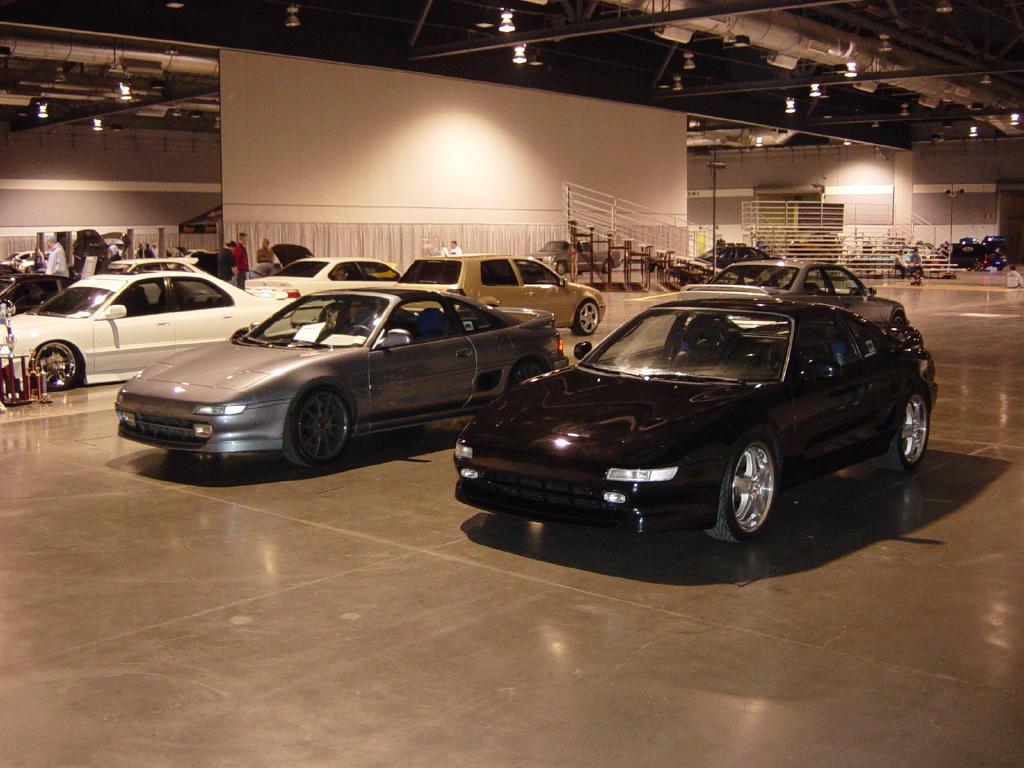
- Here are some pictures of Ken Blake and Kris Osheim's cars at the 2004 Import Motion show at the Portland Expo Center on February 14th, 2004.
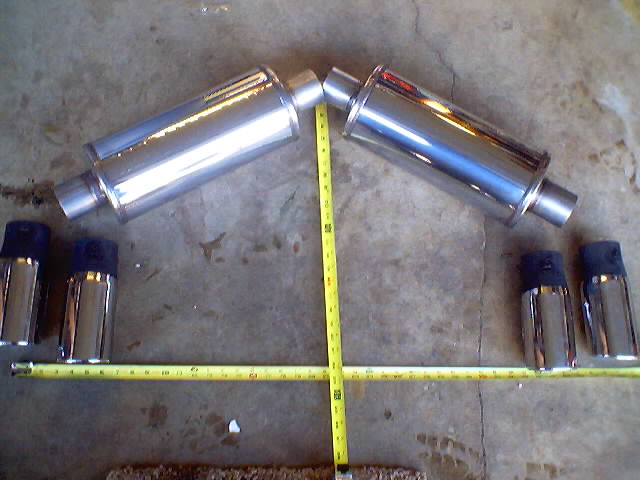
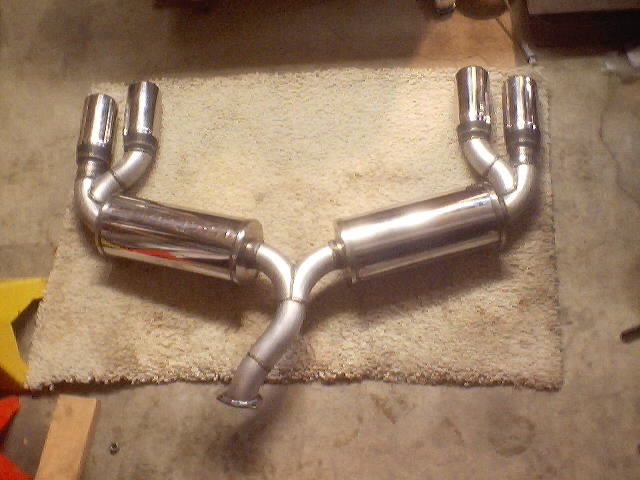
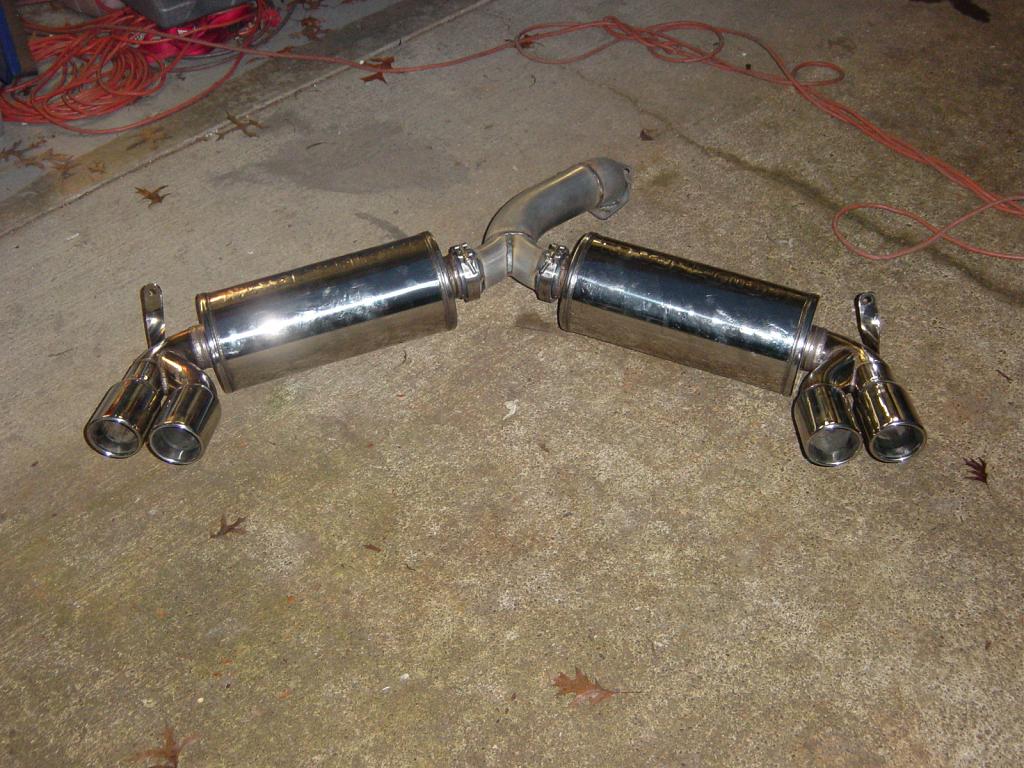
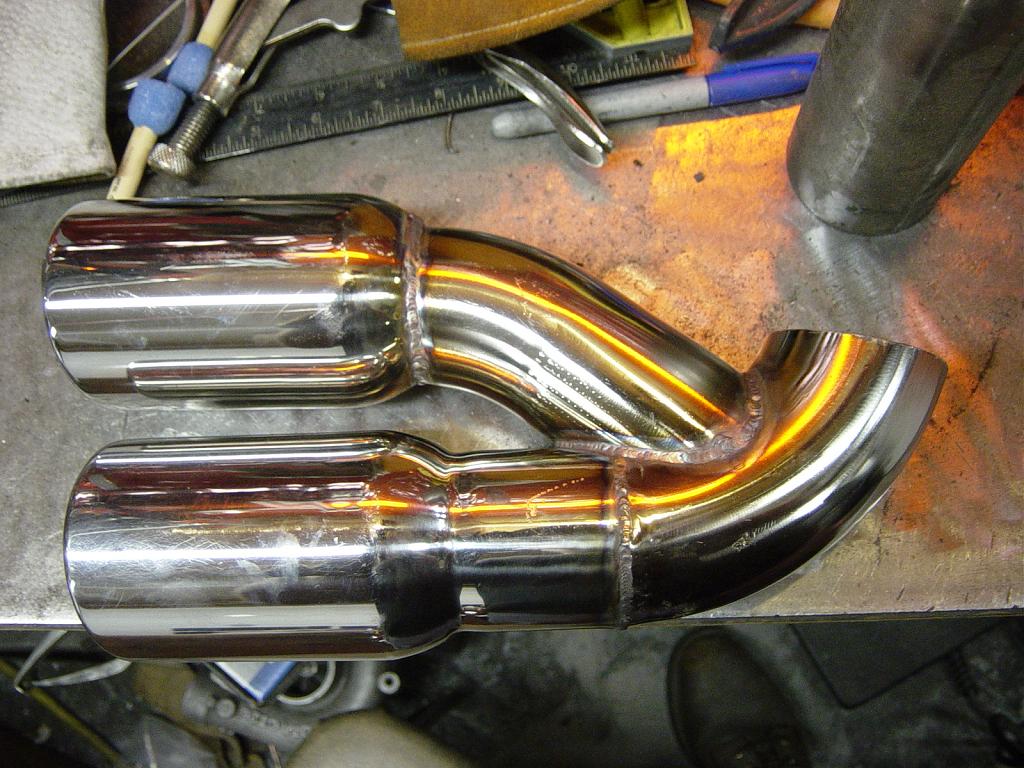
- Here are some pictures of Kris Osheim's 3" TKO exhaust with 4 tips created in November of 2004.
- LokiTKO4tip1.jpg Shot of the rear section. The portions from the v-band connections at the y-pipe to the tips are 100% stainless.
- LokiTKO4tip2.jpg Close up of the v-band connections at the y-split.
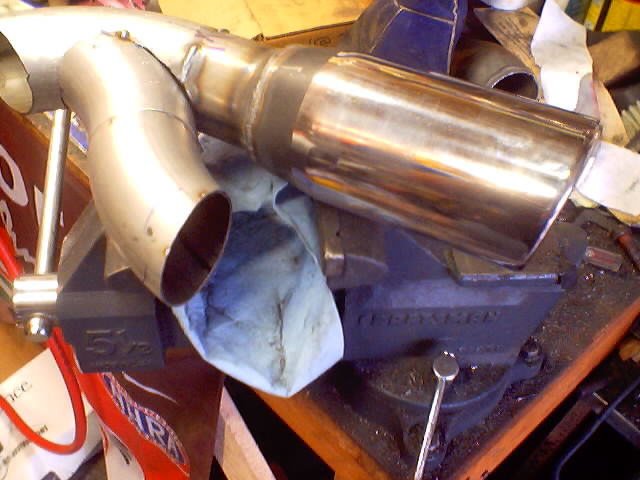
- LokiTKO4tip3.jpg Close up of the portion from the muffler to the dual tips. All polished stainless and TIG welded.
- LokiTKO4tip4.jpg The tips are dual wall 3" OD tips.
- LokiTKO4tip5.jpg The portion from the v-bands to the front will be ceramic coated.
- LokiTKO4tip6.jpg Here's one set of tips before it was welded onto the exhaust.
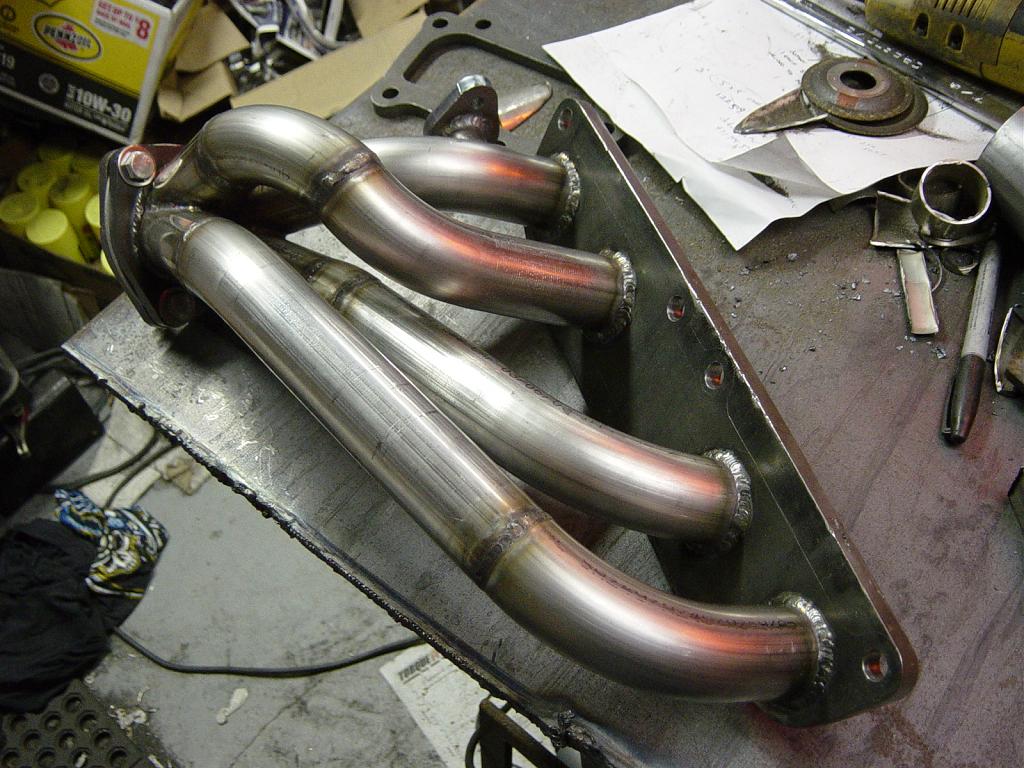
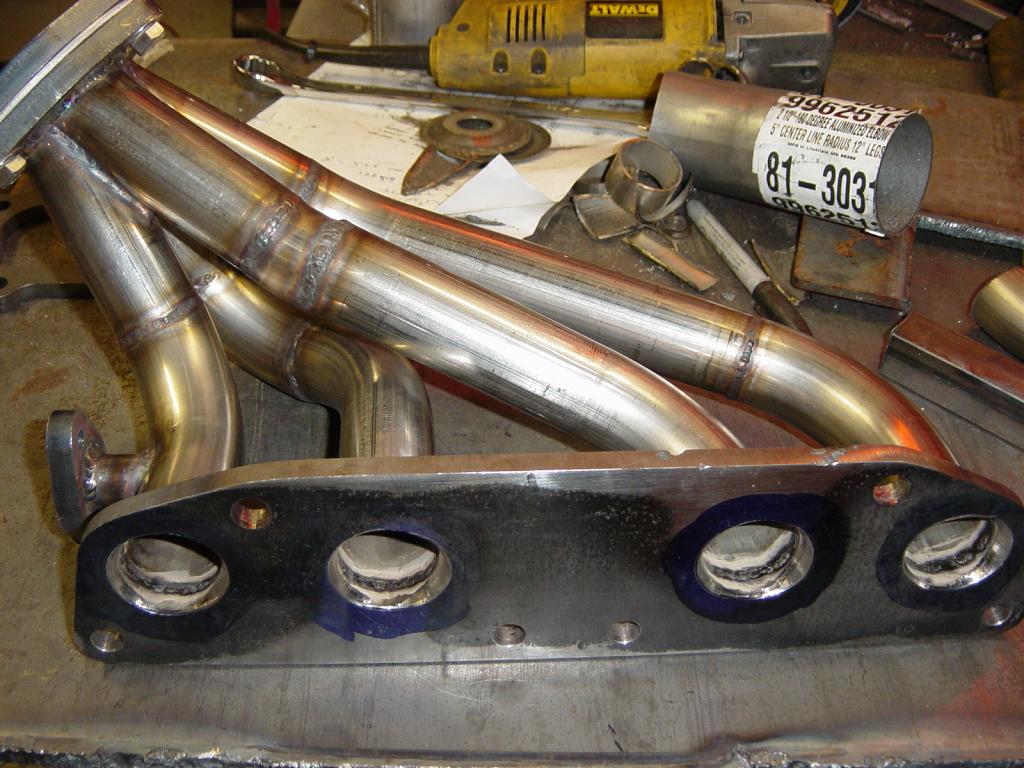
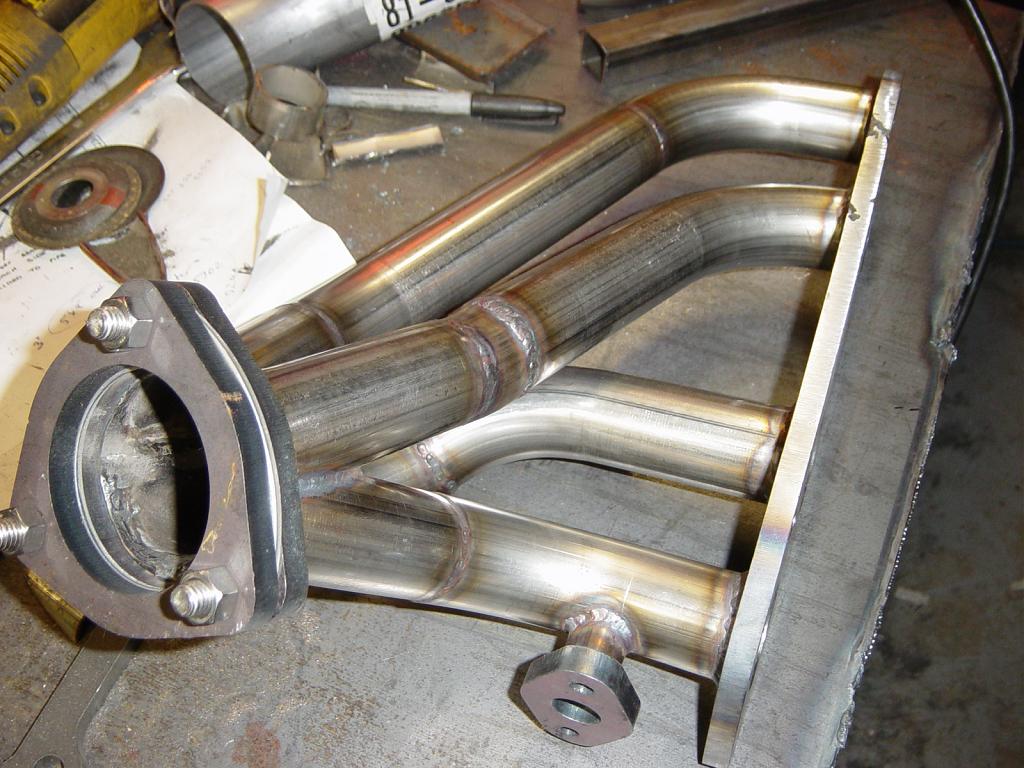
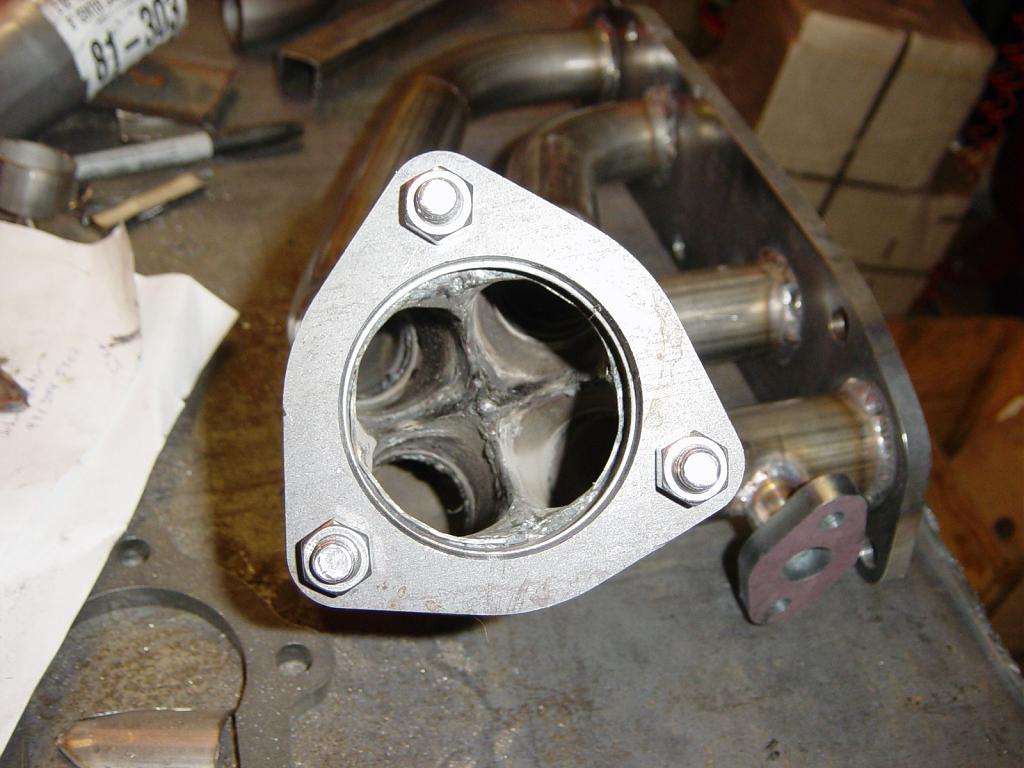
- Here are some pictures of a custom 3RZ Header made by Kris Osheim for a 1996 Toyota Tacoma.
- 3RZHeader1.jpg The tubing is 1.5" 16 gage 304 Stainless.
- 3RZHeader2.jpg The head flange was torch cut and ground to match the outline of the gasket. All holes were drilled.
- 3RZHeader3.jpg The ports in the head are oval so the flange was ported to match the gasket after all welding was completed.
- 3RZHeader4.jpg The small side port and flange were for the EGR connection. You can see how nicely the Flange was ground, but not all the kerf from the torch cutting was removed.
- 3RZHeader5.jpg The merge collector was the single most difficult part to fabricate. 4 straight portions of pipe were siamezed and welded together.
- 3RZHeader6.jpg This is a shot of the header installed in the truck (1996 Tacoma).
- 3RZHeader7.jpg This is another shot of the header in the truck.
|
|
|
|
