Converting a MKII with EHPS (Electro Hydraulic
Power Steering) to manual steering
These instructions are complete and accurate to the best of my knowledge, if you notice any inaccuracies, please let me know by emailing me at techinfo@koracing.net.
Note: What you do to your car is your business, and you take full reponsibility for your own actions. KO Racing and Kris Osheim cannot be held legally liable for any problems associated with the use of these directions.
Parts needed:
Manual steering rack
Manual steering
column/Ujoint
Manual Steering Tie Rods
Metal clamps for rubber boots
on steering rack. (or zip ties)
Tools Needed:
Ball joint puller
Toyota Shop Manual
(BGB)
Metric socket Set
Metric Box wrench Set
Torque
Wrench
Crescent wrench (2 large ones)
Breaker Bar
Drill
Hole
saw attachment for drill
Dremel with fiberglass reinforced cutoff
wheels, grindstone attachment
2 jack stands
Floor jack
Drop
light
Ball Joint puller
MityVac style pump
Several rags and/or a
catch basin
Molybdenum Disulfide based grease (or similar product)
The reasons to convert to manual steering are
threefold:
1) The electric motor can create interference aftermarket
stereo systems.
2) The manual steering has better feel
3) It will
considerably lighten the car.
This write-up is intended to supplement the BGB procedures, and is not
designed to be a stand-alone guide.
1) Jack the front of the car up as high as possible, support with jack
stands, and remove the jack.
2) Center the steering wheel as per the
BGB procedure, and secure it with the seatbelt.
3) Remove the plastic shielding from under the steering rack/front suspension
4) Siphon the fluid from the power steering fluid reservoir, using the pump.
5)Disconnect the hydraulic lines that run from behind the suspension cross
member to the power steering rack and allow the fluid to drain onto your
rags, or into the catch basin.
6) Unclamp the rubber boots on the steering rack, and slide them
towards the wheels. Use the 2 crescent wrenches to detach the tie rods
from the steering rack.
7) Remove the tie rods and sent them aside.
8) Using a 12mm socket and breaker bar, loosen the four bolts
that secure the support brackets for the power steering rack. Remove the
bolts and brackets.
9) There is a brace that runs just to the drivers side of the power hydraulic lines, its welded to the body on top, and
bolted to the cross member at the bottom. Unbolt this to allow some free play.
10) Remove the spare tire and plastic cover over the steering column in the front trunk. Unplug the power steering motor. (2 plugs)
11) Unbolt the universal joint from the power steering rack inside the
front trunk.
12) Unbolt and remove the other end of the steering column
from inside the drivers foot-well, just above the brake/clutch pedals.
13) Remove the steering rack and column. The rack will tend to hang up where the hydraulic lines cross the suspension cross member. It is
tight, but it WILL come off. (You could use a 21mm socket with a breaker bar to remove the banjo bolt on the end of the rack, which would probably
make this part easier.)
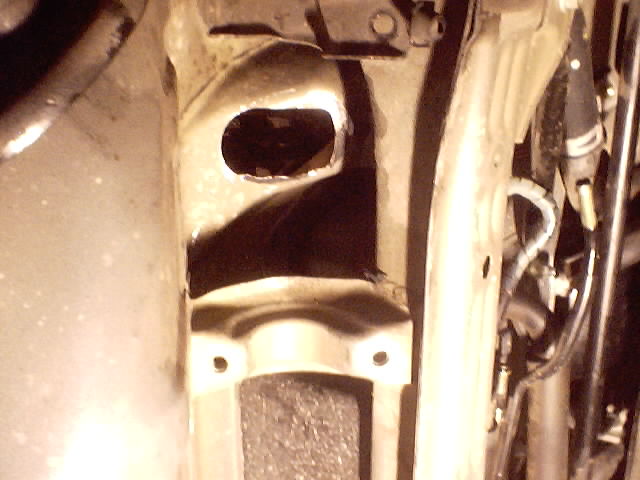
14) Now you have the rack and steering column off the car. Youll need
to use your hole-saw and Dremel to enlarge the keyhole shaped hole in the
body where the U-joint goes through. The U-Joint on the manual steering
rack extends down through the body, and connects to the rack underneath
the car. The power steering one connects inside the front trunk. I made
the hole roughly oval, and wide enough so the u-joint could turn freely,
without hitting the sides of the hole.
15) Now its time to put the steering column through from the drivers
foot-well to the front trunk, but do not attach it to the rest of the
steering column yet.
16) Slide the universal joint onto the end of the
steering column in the front trunk, and loosely fasten the 12mm bolt that
secures it to the column.
17) From underneath the car, lift the manual
steering rack into place and support it. You will note that the drivers
side support bracket has a 90 degree bend in it, this fits over the corner
of the rack, opposite from the part that the universal joint slides over.
The rounded portion of the rack fits into the bracket welded onto the
underside of the body.
18) Secure the support bracket loosely, with the 2 12mm bolts
19) Secure the passenger side support bracket.
20) Slide the universal
joint over the knob with splines that projects from the top of the
steering rack and loosely secure it.
21) Install the new (manual
steering) tie rods.
22) Torque everything down to spec, according to
the BGB.
23) We gave the car a rough alignment, by sighting down the body to
ensure the front wheels were even with the rear wheels and measuring the
space between the front of the front tires, and the rear of the front
tires, which tells you the toe-in.
24) Replace the plastic undershield
25) Take the car for an alignment
26) Enjoy the feeling of being in touch with your front wheels for the first time :)
 |
 |
 |
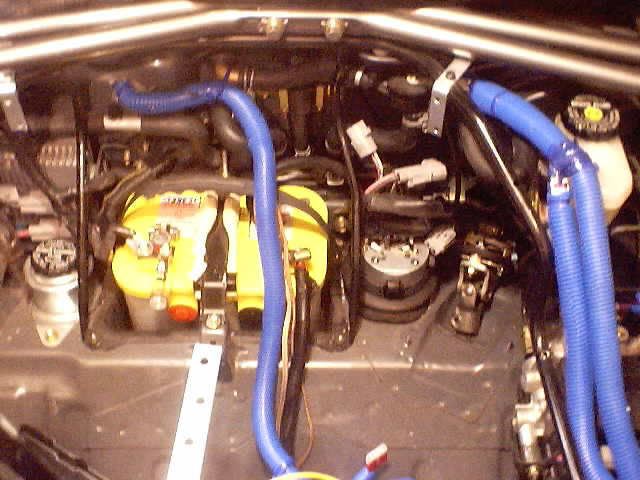
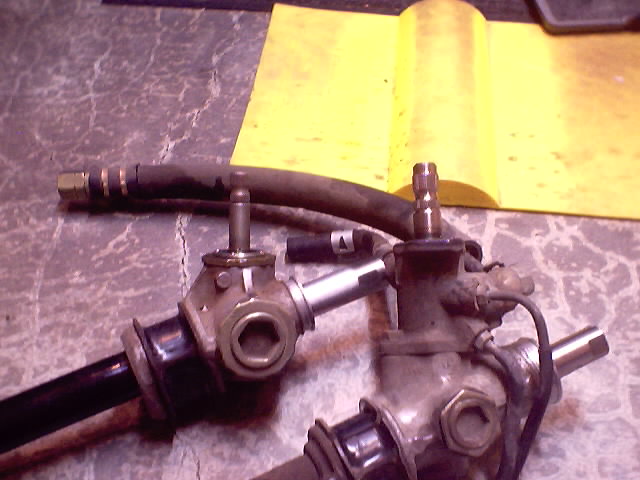
| Full Power Steering Assembly |
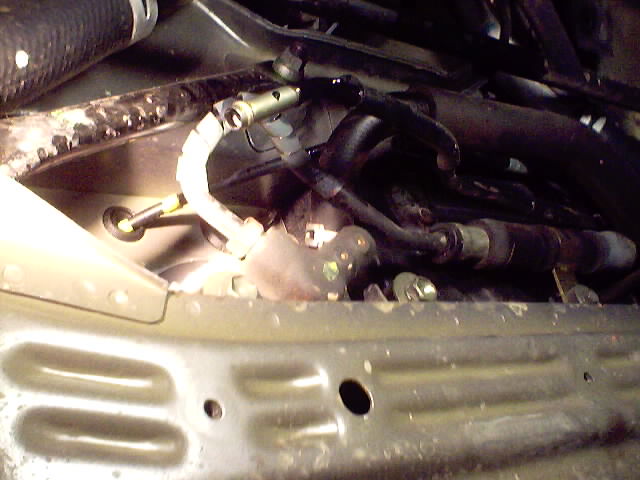
Hydraulic lines under car |
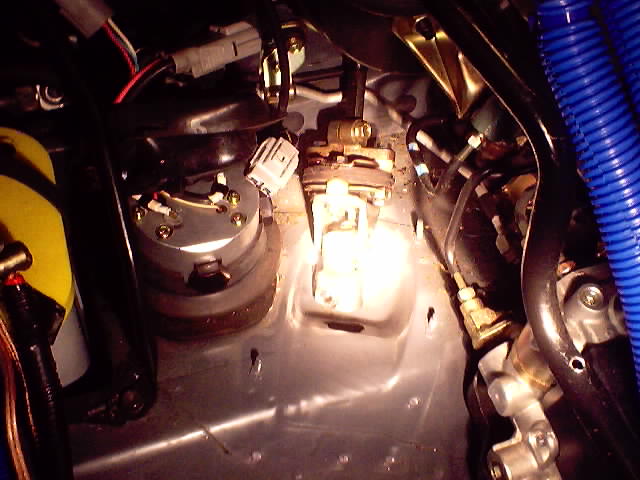
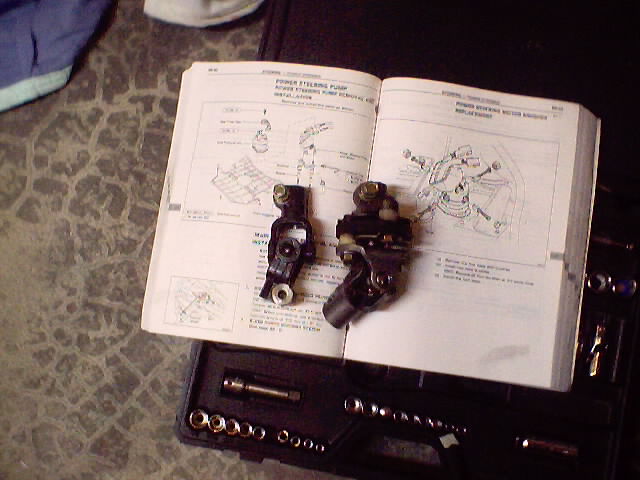
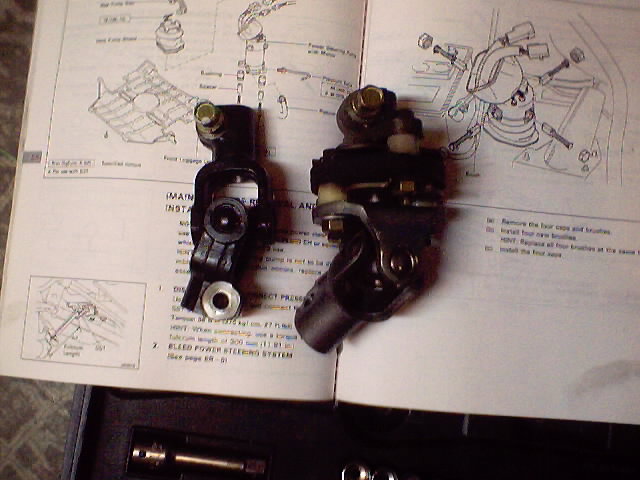
Electric Motor and Universal Joint |
 |
 |
 |
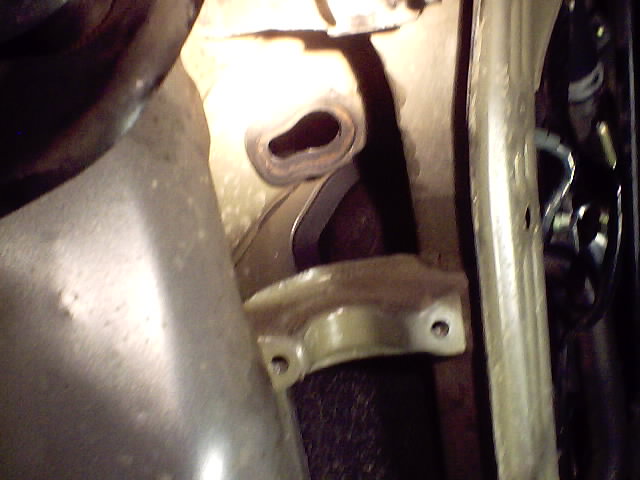
| Power Steering Opening |
Opening enlarged to accomodate manual steering
ujoint |
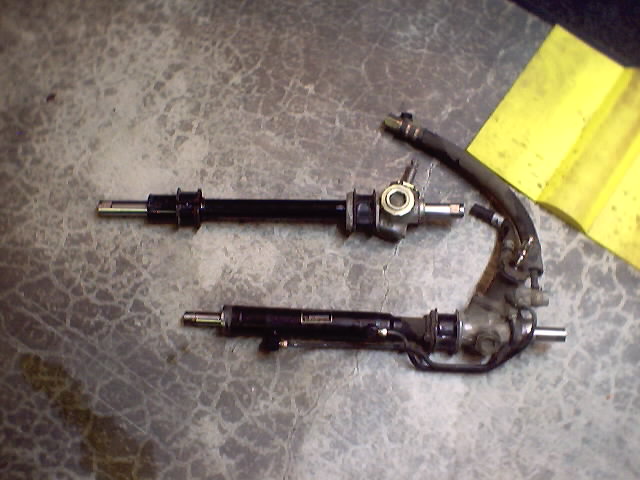
Driver's end of racks |
 |
 |
 |
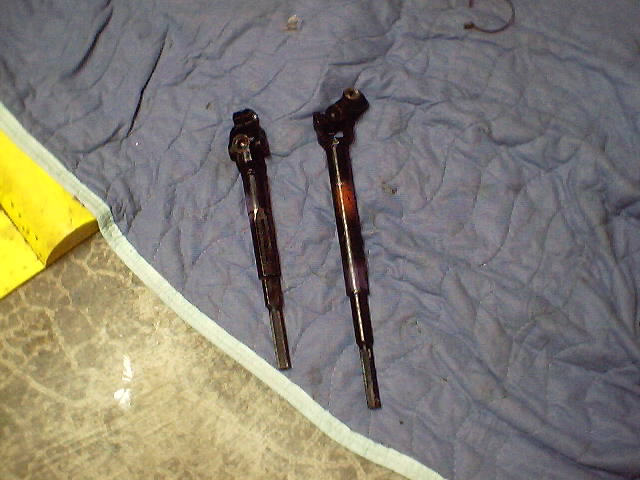
| Power Steering rack vs Manual |
Full view of both racks |
Universal Joints |
 |
 |
 |
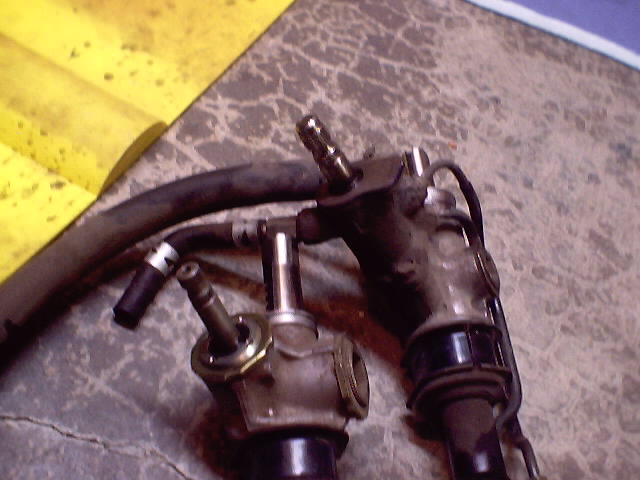
| Universal joint close-up |
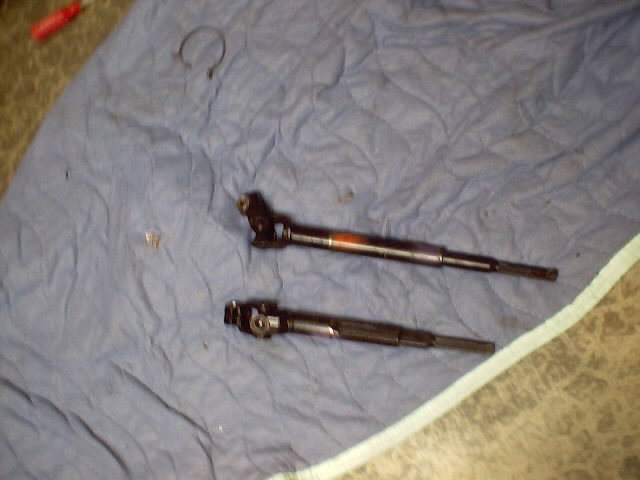
Steering Column Comparo |
Steering columns, different
angle | |